Monthly Archives: July 2015

Lemon Meringue Pie = Chemistry in the Kitchen

lemon-meringue-pieHello and happy day to you. I hope that the weather is just as spectacular in your neck of the woods as it is for me. I thought I would take a break from being outside to share a recipe with you that I tried for the first time two weeks ago. It was MIL’s birthday and to celebrate, I thought I would try making one of her favorite desserts, lemon meringue pie. I was a bit hesitant at first because I had heard that these pies can be tricky to make, so I decided to hedge my bets by also making a chocolate cream pie. That way, if the meringue didn’t work out, I could pretend that it never happened and still have a tasty dessert to share.

I started by baking the pie crust – all was well at that point. Next came the ingredients for the lemon filling. I poured the agave, cornstarch, water and egg yolks into the saucepan and stirred continuously while heating. At first, the ingredients swirled in the pan like an odd assortment of messy debris. I looked away for a moment to mention something to SensitiveHusband, and when I turned back I saw a smooth, glistening, even-colored vision of dessert. It was a fine hour for chemistry in our kitchen!

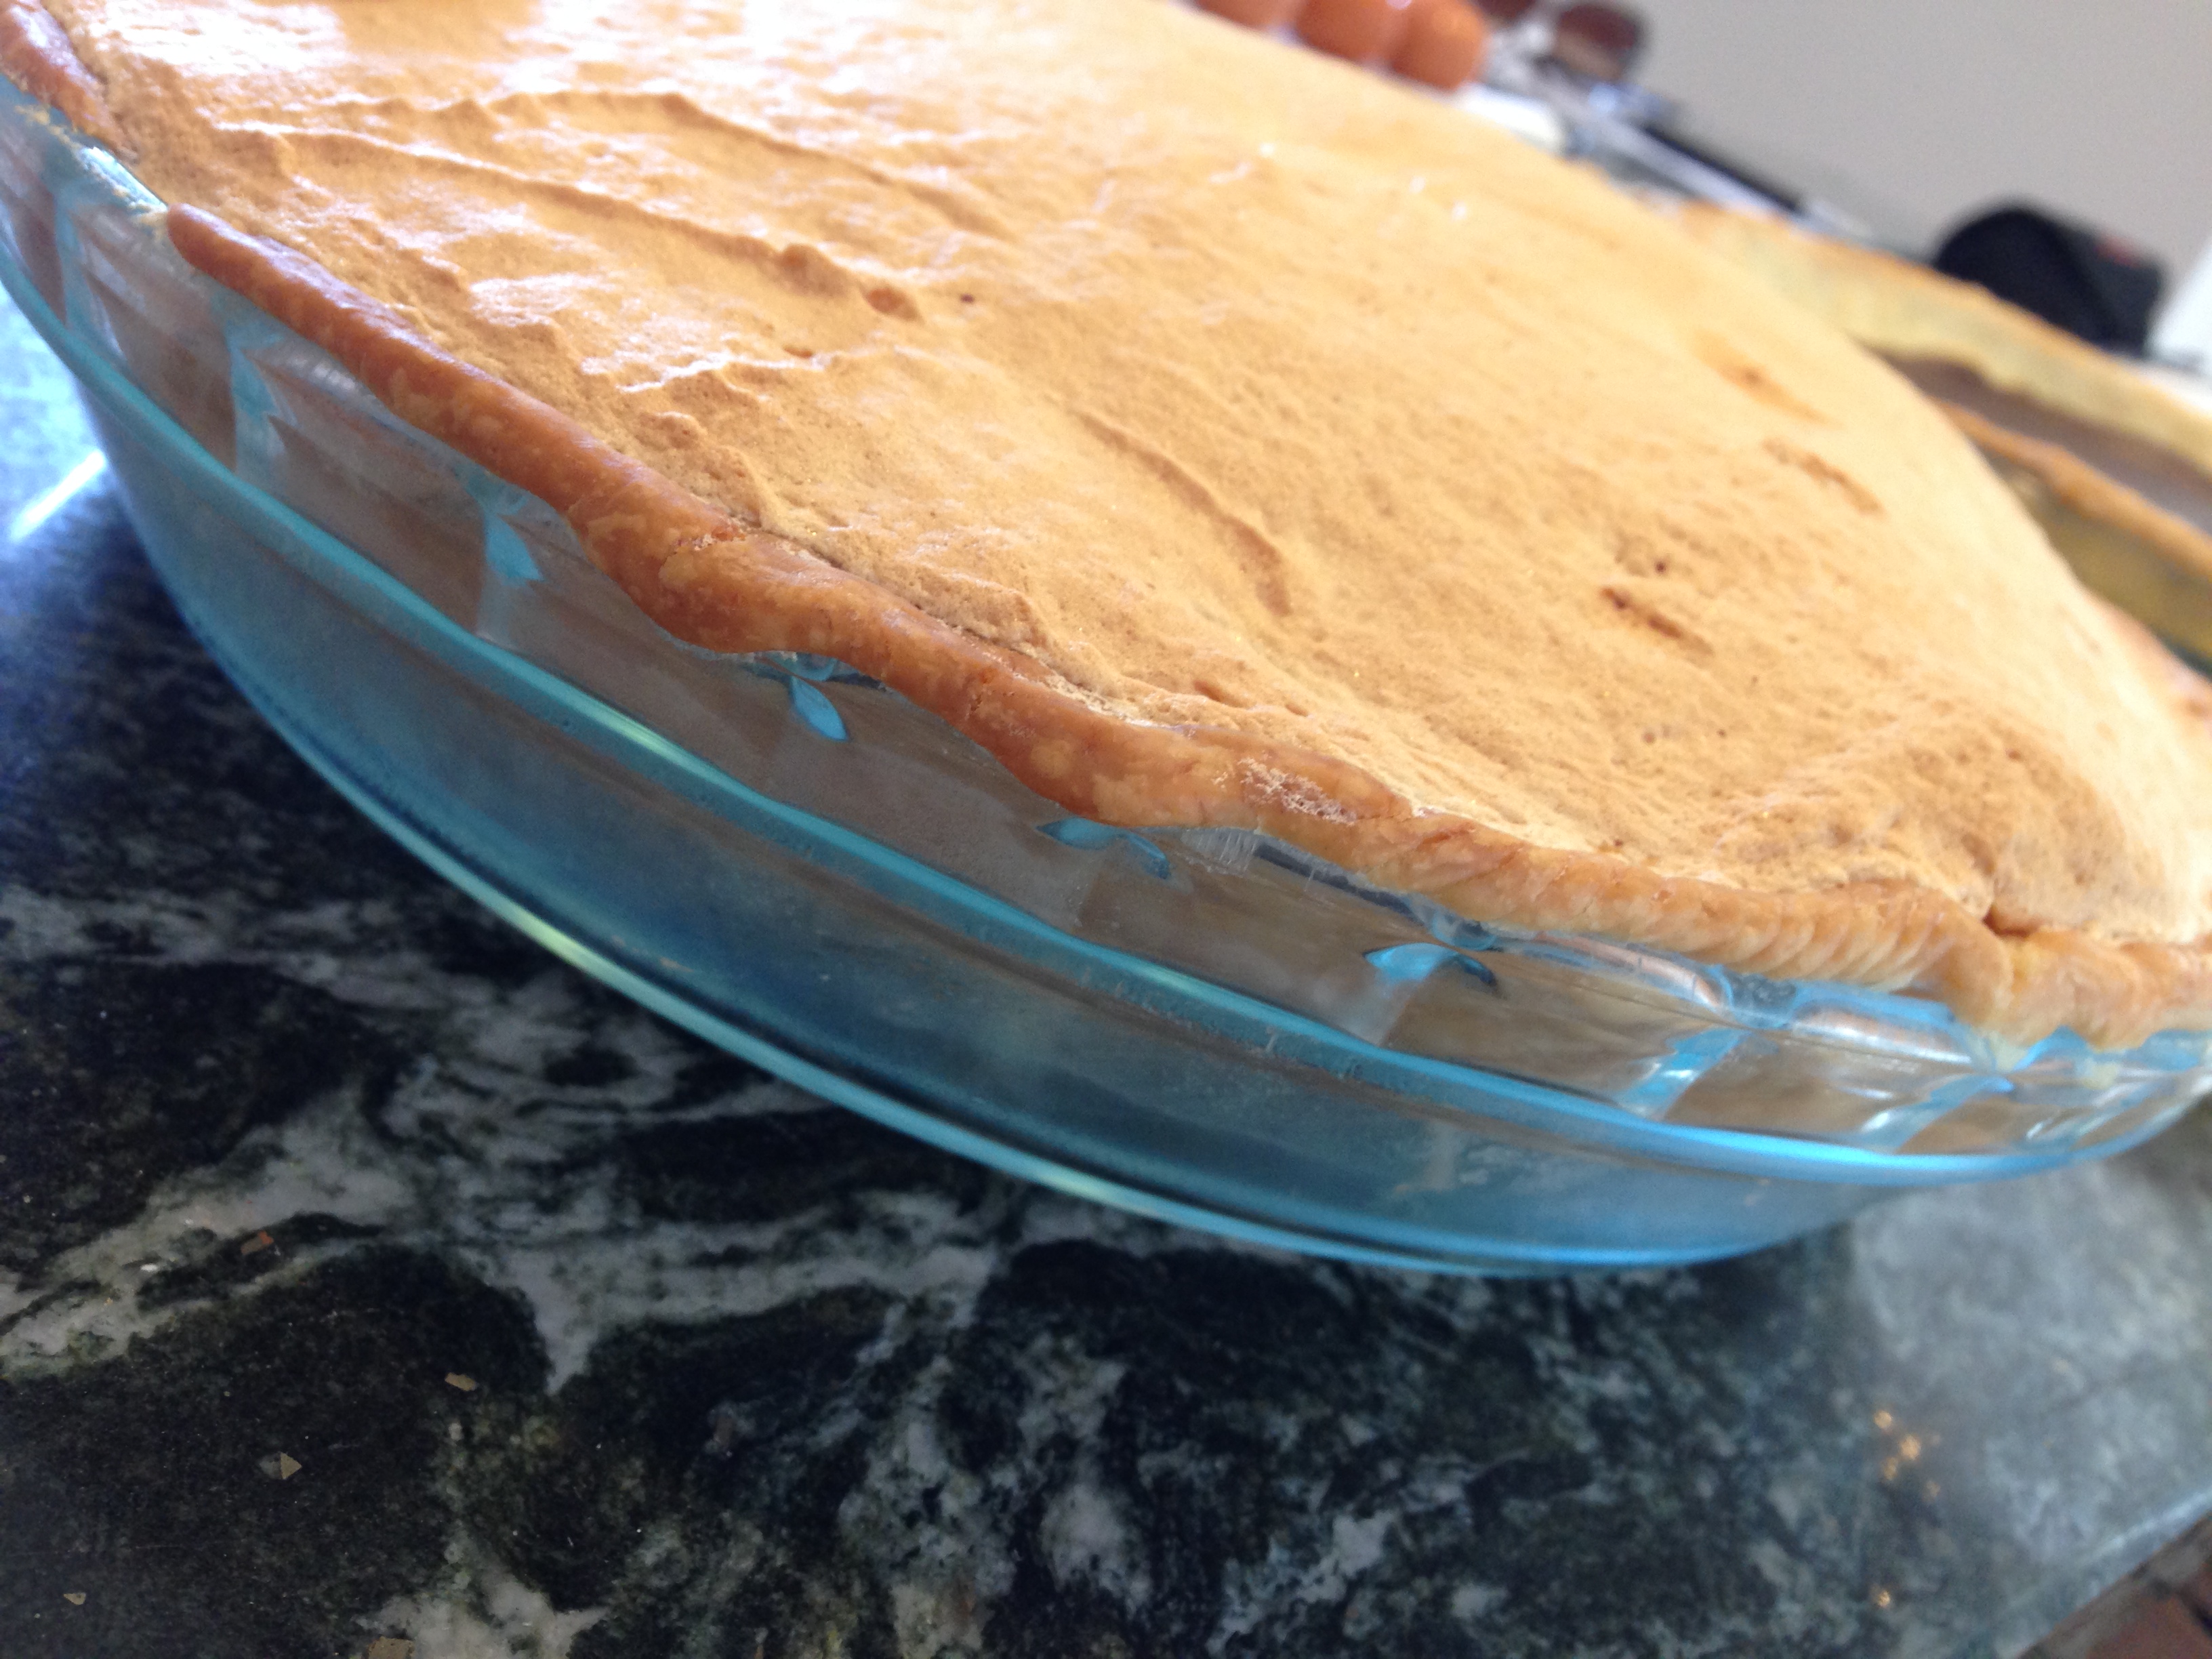
The last piece to make was the meringue topping. Into my stand mixer went the egg whites and agave. I set the mixer to high and watched the mixture slosh around for a bit. After a short time, the liquid turned into a fluffy, voluminous meringue. I stood there, amazed for a moment, and then turned off the mixer. Another score for chemistry in our kitchen!

lemon-meringue-pie2This pie is actually fun to make, especially cool if you ever enjoyed science class, and everyone who sampled it that evening really enjoyed it. Of course, we all had to also try the chocolate cream pie since no dessert should go to waste. It’s a very summery treat for the season.

This recipe calls for only three eggs, which is a good thing since the price for wholesale chicken eggs increased 84.5% from May to June. This increase was the largest single-month jump since 1937, when the first records were started. Why the price increase? It’s because the Avian flu killed 49 million chickens during the past winter, according to CNN, thereby reducing the supply.

This recipe is adapted from Gluten Free & More‘s April/May 2015 issue, to remove all of the refined sugar.

Ingredients
3/4 cup light agave syrup
1/4 cup cornstarch
1 cup cold water
3 egg yolks, slightly beaten
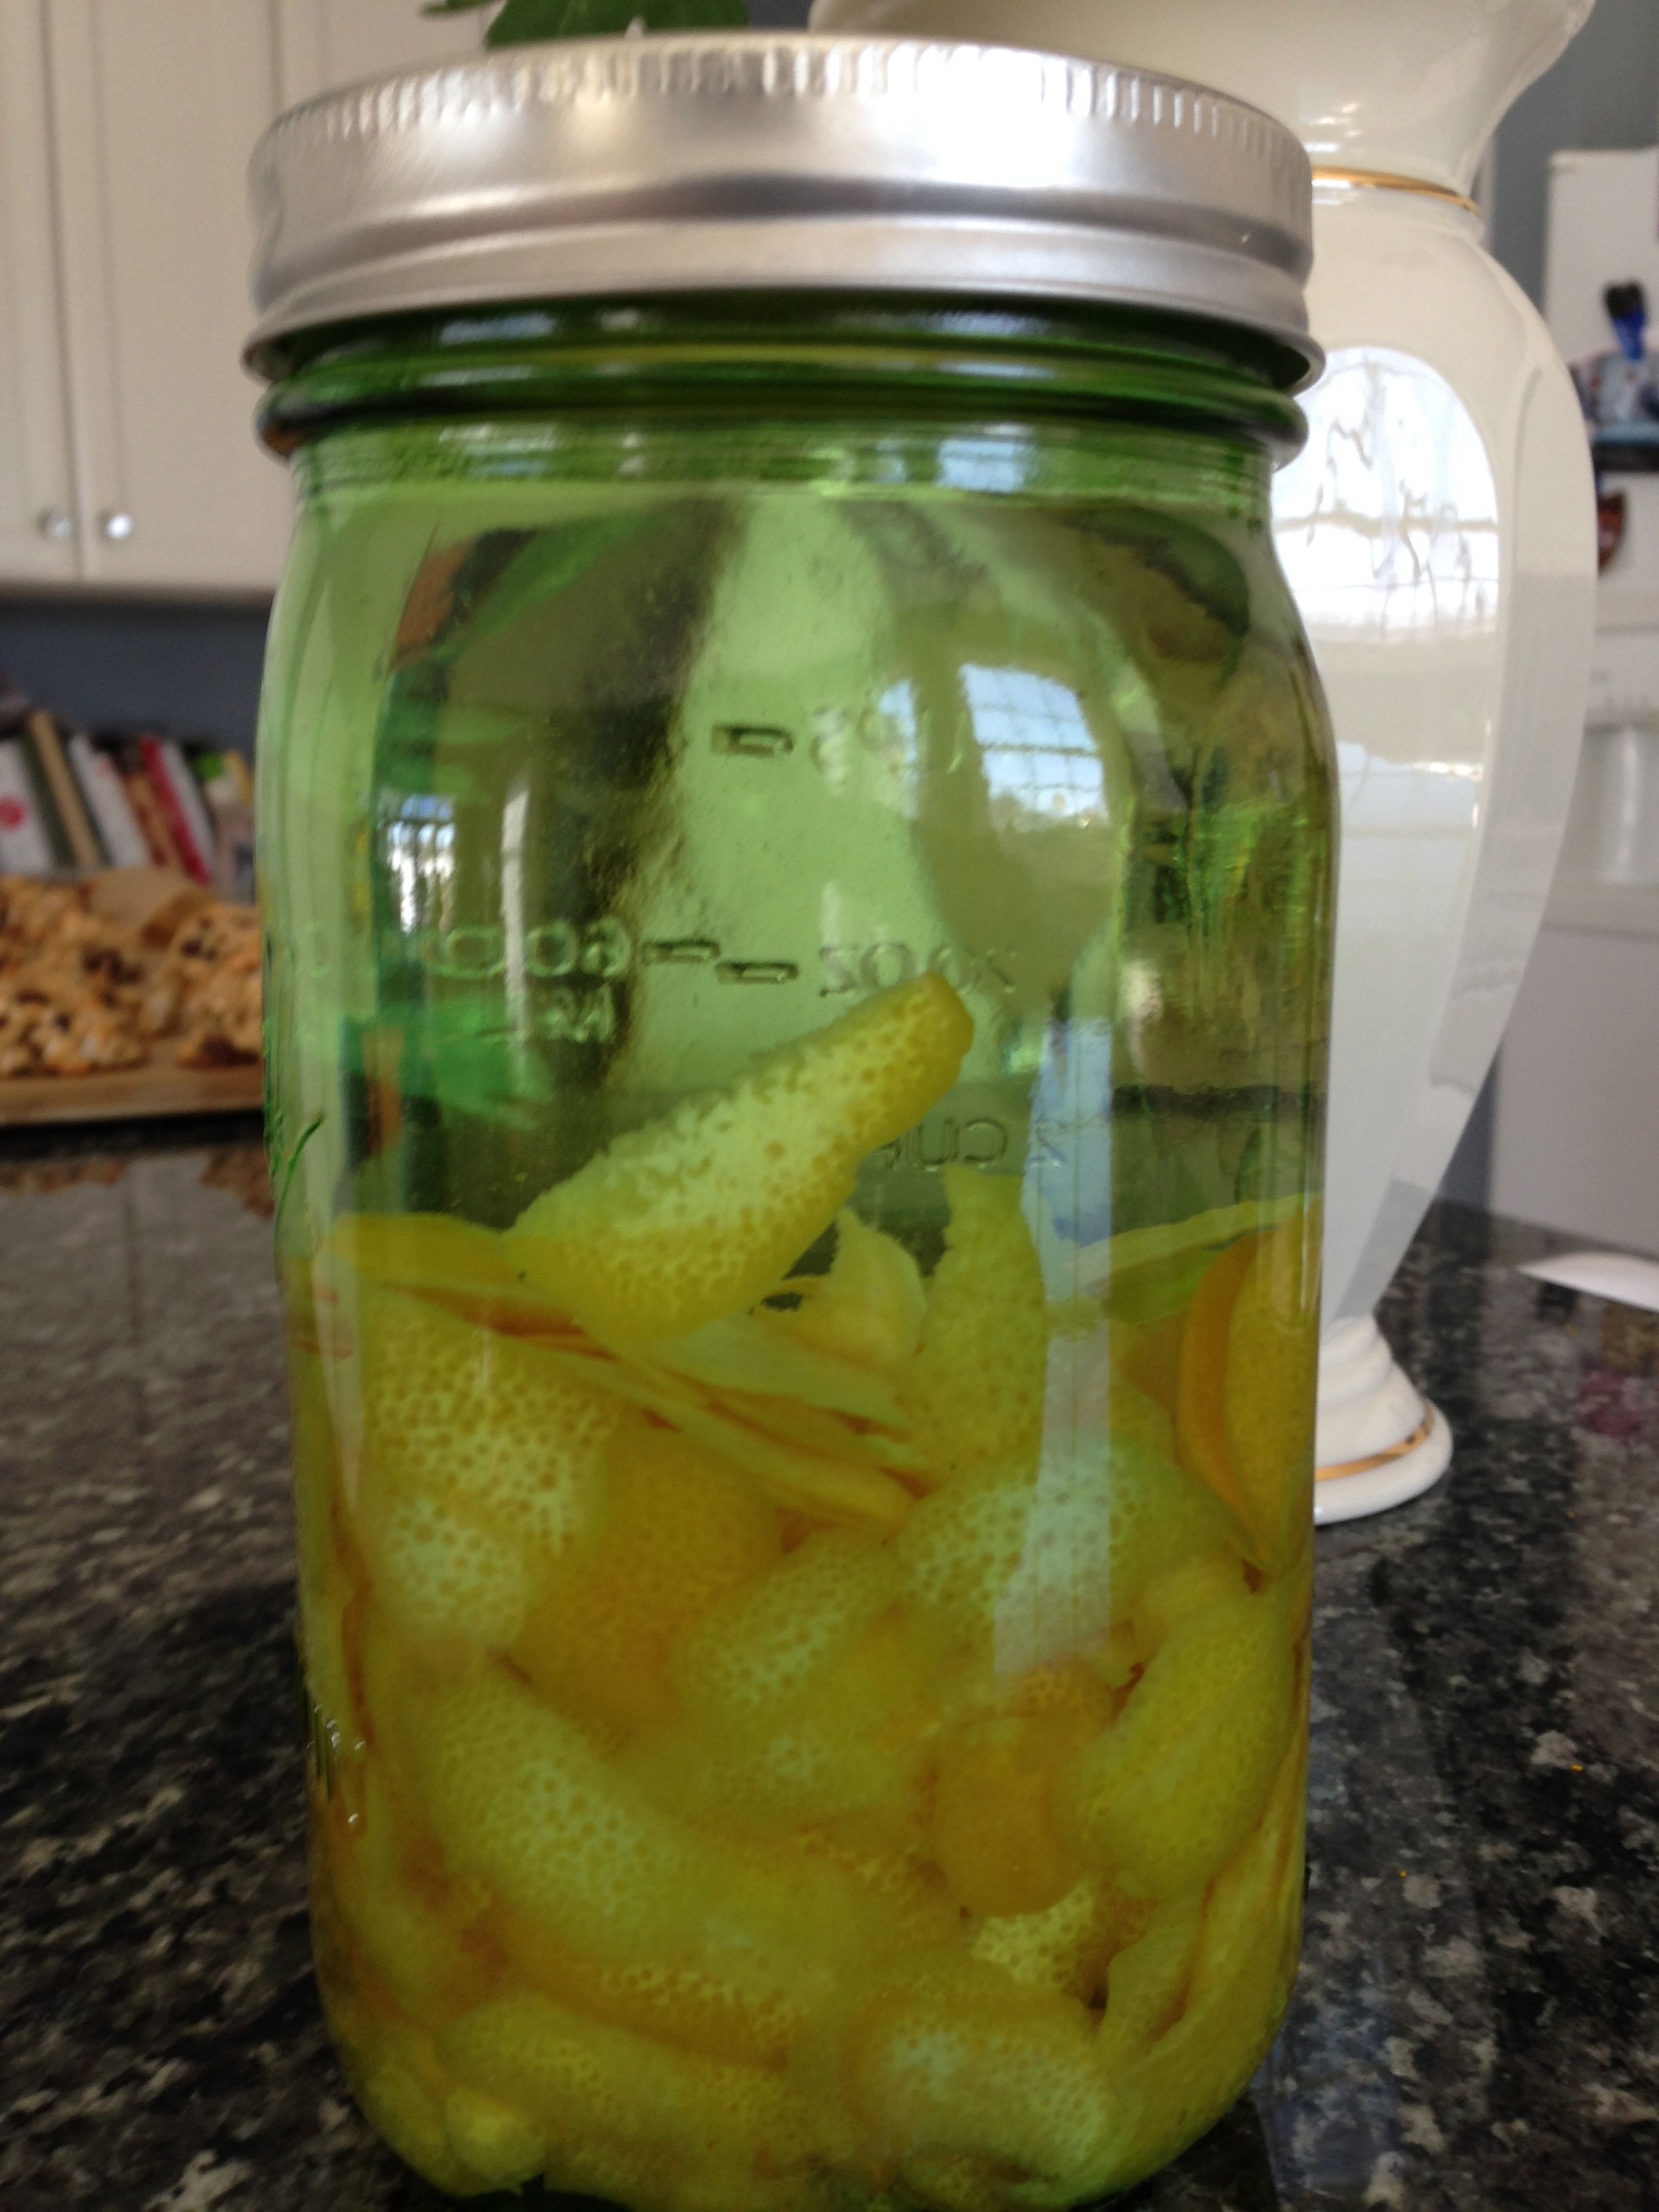
zest of 1 (or 2) lemons
1/2 cup lemon juice
1 tablespoon butter
1 (9-inch) pie crust*, baked
3 egg whites

*If you are looking for a ready-made crust without refined sugar, Pillsbury has a refrigerated version. For a refined sugar free homemade crust, try my graham cracker version. If you are looking for a gluten free pie crust, there are many store-made products and homemade recipes available.

Preparation
Preheat oven to 350 degrees.

In a medium saucepan, combine 1/2 cup agave and cornstarch. Stir in water until smooth. Stir in egg yolks.

Stirring constantly, bring mixture to a boil over medium heat and boil one minute. Remove from heat. See the chemistry!

Stir in lemon zest, lemon juice and butter.

Spoon hot filling into baked pie crust.

In a small bowl with a hand mixer or in a stand mixer, at high speed, beat egg whites until foamy. Add remaining 1/4 cup agave and continue beating until stiff peaks form. Chemistry again!

Spread meringue evenly over hot filling, sealing to the edges of the crust.

Bake pie 15-20 minutes or until golden.

After cooled, refrigerate until served.

Homemade Two-Pea Burgers (yeast free, sugar free)

Veggie BurgersA few weeks ago I hosted a cookout in celebration of SensitiveHusband’s birthday. We had a really nice time visiting with family and friends. I ordered a few side dishes from our local grocery store so that I didn’t have to feel like I was spending my whole day in the kitchen. The menu turned out great! For appetizers there were cooked shrimp, cheese and crackers, and watermelon. Dinner included fruit salad, Greek salad, pasta salad, hamburgers, hot dogs, and veggie burgers. The meal was topped off with MIL bringing the flourless chocolate cake.

While most of our guests that evening were carnivores, a couple of guests were egg-eating vegetarians. Since I don’t typically purchase veggie burgers at the store, my trip down that aisle left me a bit dazed and confused. There are a lot of commercial veggie burger options available, but which ones taste the best? I decided to solve the matter by making my own. I was inspired by a recipe in Martha Stewart’s May 2015 Living magazine for Green-Pea Burgers with Harissa Mayo. I didn’t make the mayo because I figured that our friends would enjoy the tomato, lettuce, cucumber and condiments available for all the burgers. I swapped out the onion for garlic, and used wheat germ instead of breadcrumbs so that my creation would also be onion and yeast free. I added an extra egg white to get the consistency I wanted when forming the burgers. You may want to add a little olive oil also to east the burger making process. They are delicate to cook but flipped fairly easily in a non-stick skillet with a flexible spatula. The burgers are quite tasty and were well-received by all of the guests at our picnic. These will definitely be part of our cooking repertoire from now on.

Ingredients:
1 cup frozen peas, thawed
Coarse salt
1/2 cup canned chickpeas, rinsed and drained
2 cloves garlic, finely chopped
2 tablespoons fresh flat-leaf parsley, chopped
1 large egg plus 1 egg white, whisked together
3/4 cup wheat germ
2 tablespoons extra-virgin olive oil

Preparation:
Coarsely chop the peas and chickpeas either with a knife on a cutting board or using a food processor. Transfer to a bowl and stir in garlic, parsley, eggs, and wheat germ. Season with salt. Form into 4 patties, each about 3/4 inch thick.

Heat oil in a large nonstick skillet over medium. Cook burgers until golden brown, about 4 minutes on each side. Serve with any condiments or toppings you choose.

Lemons to Lemonade to Limoncello

Happy Independence Day everyone! I hope that you are having an enjoyable holiday weekend. This time of year presents a bit more time – for being outdoors, for enjoying visits with friends and family, and for changing up schedules from the normally hectic to something less so. And time is something you will need for these recipes, although the preparations are easy and only require a few ingredients. The results are refreshing and perfect for warm summer afternoons.

LemonsFor these two recipes I used lemons, similar to what is seen in my photograph. The lemon on the left is the conventional fruit found in most supermarkets. The middle lemon is organic, which is great for recipes that require the use of the skin. A Meyer lemon is pictured on the right, smaller than a regular lemon with an orange skin. Meyer lemons are a touch sweeter and have a bit of an orange flavor, and can be a nice complement to any of these recipes. For making lemonade, any combination of these lemons will do, but for the limoncello I would recommend the organic lemon or Meyer lemon, since the skins will be soaking for quite awhile and any pesticides that are on the skins would end up in the beverages.

Let’s start with the limoncello: I found a great recipe at The Kitchn and I used a combination of lemons: five Meyer lemons and five organic lemons. There are a number of ways to modify the beverage to make it sweeter or stronger with lemon depending on the ratio of sweet to water and how long the lemon peels steep in the alcohol. I let the lemon peels steep for a full month, but you can let them soak for as little as four days. And when making the simple syrup, you can create any ratio of sweet and water between one cup of each to four cups of each. So I tried two cups of each and we liked the result very much. Instead of using cane sugar, I used a light agave syrup, and the results were great. Once I peeled the lemons, I used the juice to make the lemonade recipe (recipe follows below).

Limoncello: Ingredients
10 organic lemons, washed and dried
1 750-ml bottle vodka (100-proof preferred, or 80-proof)
1 to 4 cups light agave nectar (I used 2 cups)
1 to 4 cups water (I used 2 cups)

Limoncello: Equipment
Vegetable peeler, microplane or zester
Paring knife
1 quart jar or other similar-sized container with a lid
Strainer
Bowl with spout (or four-cup measuring cup)
Small funnel
2 clean 16-ounce bottles or several bottles equalling similar volume (I used three clean, empty Grolsch beer bottles)

Limoncello: Preparation
1. Use a vegetable peeler to remove the peels from the lemons. Try to remove only the outer yellow skin and as little of the pith as possible.
Lemon Peels in Vodka2. Transfer the lemon peels to a 1-quart jar and cover with vodka. Screw on the lid. Let the vodka and lemon peels infuse somewhere out of the way and out of direct sunlight for at least four days or as long as one month. The longer the vodka infuses, the more lemony the limoncello.
3. After the lemon and vodka have infused, Set a strainer over a bowl with spout or four-cup measuring cup. Pour the vodka through the strainer so that the lemon peels are removed from the liquid.
4. Prepare a sweet syrup of at least 1 cup of water and 1 cup of sugar (I used two cups of each). Bring the water to a simmer and stir in the agave to dissolve; allow to cool.
5. Pour the cooled sweet syrup into the bowl with the strained vodka. Mix. Distribute the contents into your storage bottles. The limoncello keeps indefinitely in the freezer.

To make lemonade, you can use the juice from the lemons you just peeled to make limoncello, or bypass that step to only make this refreshing beverage. I substituted the cane sugar with light agave nectar and the results again were very nice.

Lemonade: Ingredients
1 cup light agave nectar
5 cups water, divided
6 to 8 lemons (about 1 cup of lemon juice)
Ice

Lemonade: Preparation
Lemonade1. Combine the agave and 1 cup of the water in a small saucepan and bring to a gentle simmer over low heat to dissolve the agave. Once the sweet is completely dissolved, remove from heat to cool.
2. Roll each lemon over a cutting board, pressing down as you do, to help them to release their juice. Cut in half and squeeze. Repeat until you have one cup.
3. Add the cooled sweet syrup to a pitcher, then the lemon juice and the remaining four cups of water. Stir. Taste and adjust – add a tablespoon of agave if you want it to be sweeter or the juice of 1/2 lemon if you prefer more tartness.
4. Add ice to pitcher if you think you will drink all the lemonade right away. Otherwise add ice to each glass.