Tag Archives: Cane sugar free

Freshly Squeezed Orange Oatmeal Cookies

2013-01 oranges
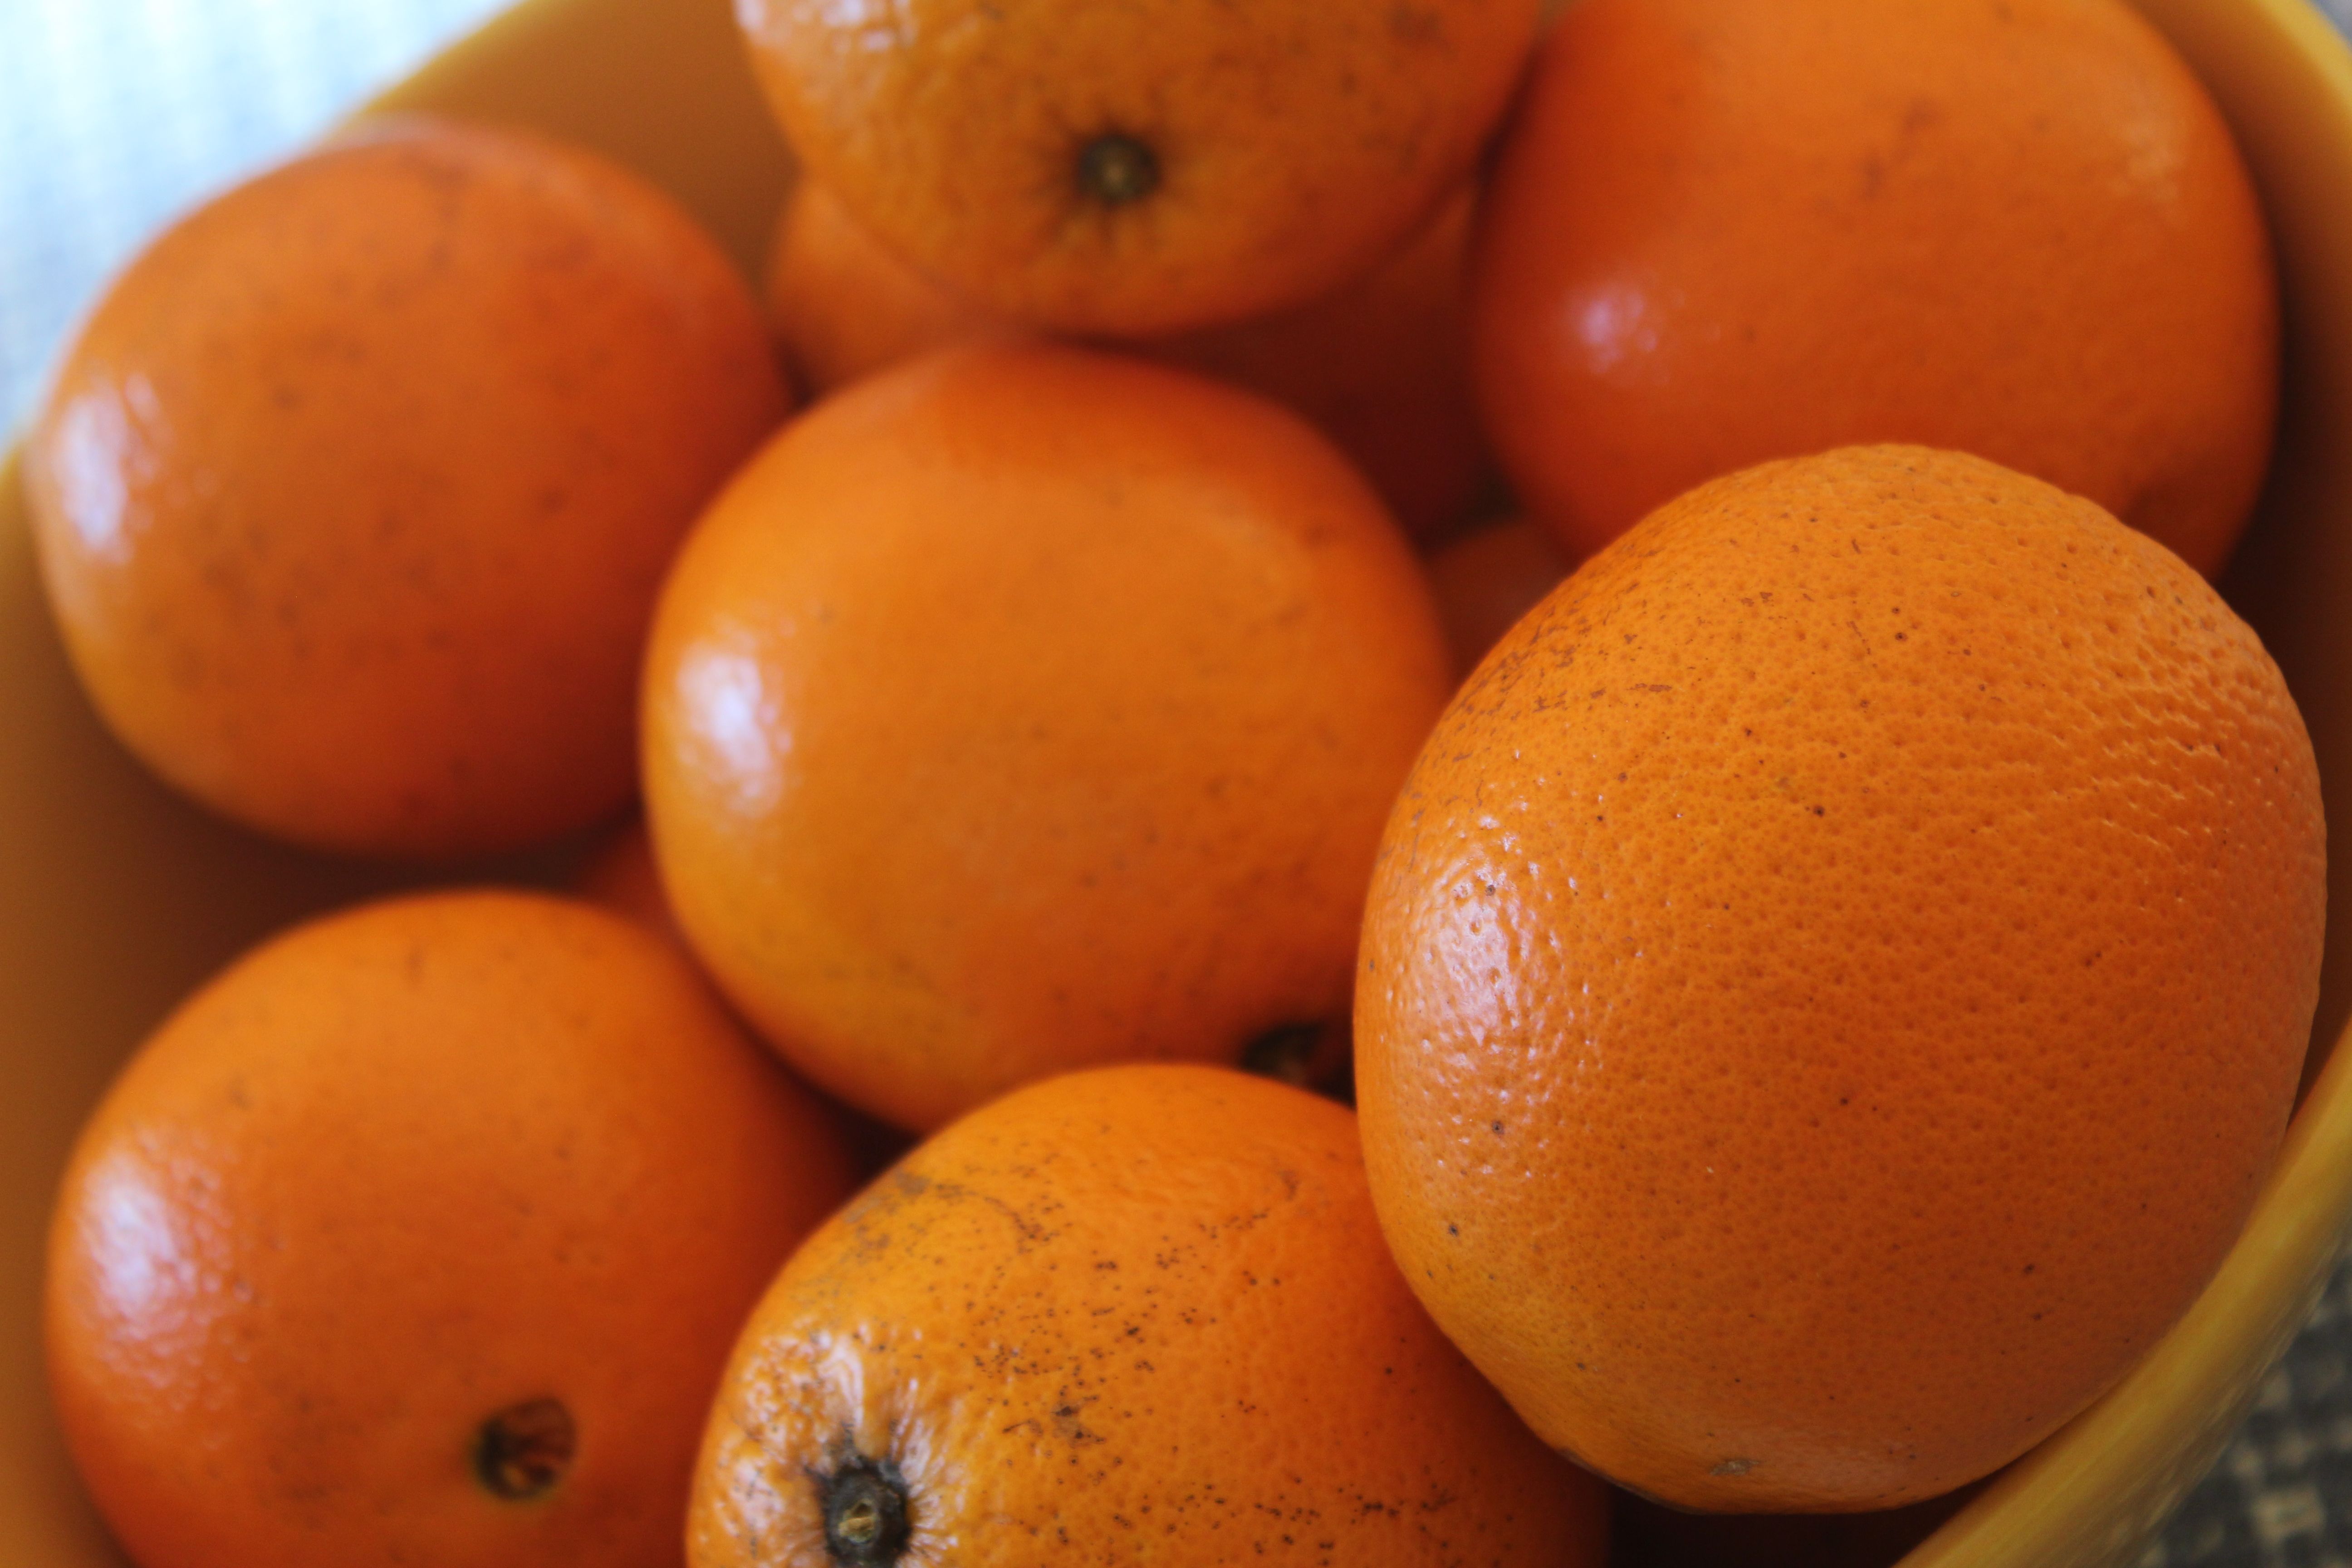
Greetings from sunny Florida! That’s what the box on the gift of oranges read. This gift has been excellent and came at the perfect time – while SensitiveHusband and I wait for the next snowstorm, we have been able to enjoy really fresh, juicy, delicious navel oranges!

According to the Florida Department of Citrus, the Florida varieties that are currently in season include Temple Oranges, Honey Tangerines, Red Grapefruit, Pink Grapefruit, White Seedless Grapefruit, and Juice Oranges. Since the rainfall in Florida has been lighter than usual this year, the crop is estimated to be 142 million boxes, which is almost 5 million boxes fewer than the 2011-2012 season. According to Florida Citrus Mutual, the Florida citrus industry creates a $9 billion annual economic impact, employs almost 76,000 people, and covers about 550,000 acres.

2013-01 orange juicerLast weekend I decided to get a little creative by figuring out how to bake with an orange. I took inspiration from a recipe for Orange Oatmeal Cookies and made a number of ingredient swaps and substitutions to remove the butter, cane sugar, cream of tartar (since I didn’t have any on hand), and reduce the gluten (although these could be made gluten free if you prefer by swapping the whole wheat flour out and replacing with brown rice or millet flour). I also enjoyed using my great-grand-aunt’s green juicer, shown above. I pictured her laughing and smiling while I juiced the orange and made the cookie dough. The result was a hearty and perky cookie that is delicious at any time of the day…even as a mid-morning snack! Whether you are enjoying a day at the beach or watching the snow fall (I am in the latter camp today), these cookies use ingredients that are easily obtained year-round.

2013-01 orange oatmeal cookiesFreshly-Squeezed Orange Oatmeal Cookie Ingredients:
1/2 cup canola oil
1/2 cup maple syrup
1 egg white, beaten until foamy
1/4 cup unsweetened applesauce
1 large naval orange, zested and juiced
1 cup whole wheat flour
1/2 cup oat flour
1 cup quick-cooking oats
3/4 cup chopped walnuts (optional)
1 teaspoon baking powder
1/2 teaspoon ground cinnamon

Preparation:
Preheat oven to 350 degrees F (175 degrees C). Line 2 baking sheets with parchment paper.

Mix together canola oil and maple syrup in a large bowl. Stir egg white and applesauce into mixture. Stir in orange juice with pulp and orange zest.

Mix flours, oats, (optional) walnuts, baking powder, and cinnamon in a separate bowl; fold into the large bowl of wet ingredients until evenly incorporated.

Drop by heaping tablespoon onto prepared baking sheets.

Bake in preheated oven until bottom of cookies are lightly browned, 10 to 12 minutes.

I am sharing my recipe with Simply Sugar and Gluten Free.

Happy New Year Roasted Root Vegetables

“One day we will look back on this and laugh.”Virgil

A few days ago I gave SensitiveHusband a card with the quote above written on it. That is because the past few weeks have been rather unusual for us, to put it mildly. We rang in the new year in a hospital room, hours after my emergency gallbladder surgery. My recovery is moving along, and I appreciate all of the support I have received from my family, friends, and even strangers.

root-vegetables_2Right after the surgery, my doctor suggested that I eat root vegetables because they are nutritious and easy to digest. Root vegetables are plant roots that are used as vegetables. Examples include carrots, turnips, beets, parsnips, rutabaga, and sweet potatoes. Roasting is a great way to prepare these vegetables – they get very tender and can even caramelize (especially the carrots – they taste like candy). We enjoyed these so much, I think we will be eating them often in 2013.

Ingredients:
3 carrots – peeled and sliced
1 yellow turnip – peeled and cubed
3 beets – peeled and chopped
3 parsnips – peeled and sliced
2 tablespoons olive oil
salt and pepper

Preparation:
–Preheat the oven to 400 degrees F.
–Line a 13×9 glass pan with an assortment of root vegetables.
–Toss the root vegetables with salt, pepper and olive oil.
–Bake the root vegetables for approximately one hour, or until tender.

Happy New Year! Out with the old, in with the new!

Kristi’s Homemade Pumpkin Hummus

I am happy to share the following recipe and story from my friend and colleague, Kristi. Thanks for writing a guest post, Kristi! I had an opportunity to sample some of these hummus leftovers, and the delicious factor is quite high. If you are looking for a yeast-free and sugar-free pita, check out Chatila’s Bakery.

PumpkinHummus.aspxBefore the Thanksgiving holiday, I came across some pumpkin hummus in the store made by one of the well-known hummus producers – but was disappointed to find that it contained sugar (which of course, made it very yummy – but not so healthy). So I was so excited to come across this recipe for homemade pumpkin hummus that is super easy to make – and just in time for the holiday season when pumpkin, whether fresh or canned (just make sure it doesn’t have any additives) is abundant. PS – We recently found out my husband has a sensitivity to garbanzo beans, so it’s an added plus that this recipe is made without them – and he still gets to enjoy the hummus experience!

Ingredients
4 (6-inch) pitas, each cut into 8 wedges
Cooking spray
2 tablespoons tahini
2 tablespoons fresh lemon juice
1 teaspoon ground cumin
1 teaspoon olive oil
3/4 teaspoon salt
1/8 teaspoon ground red pepper
1 (15-ounce) can pumpkin
1 garlic clove, chopped
2 tablespoons chopped fresh flat-leaf parsley
1 tablespoon pumpkin seed kernels, toasted (optional)

Preparation
Preheat oven to 425°.

Place pita wedges on baking sheets; coat with cooking spray. Bake at 425° for 6 minutes or until toasted.

Place tahini and next 7 ingredients (through garlic) in a food processor, and process until smooth. Add parsley; pulse until blended. Spoon hummus into a serving bowl; sprinkle with pumpkinseed kernels, if desired. Serve with pita wedges.

Give Thanks for Roasted Acorn Squash and Beet Salad

Greetings! I hope that you had a joy-filled Thanksgiving holiday. Mine was great seeing family and friends and sharing delicious meals over the long weekend. I am thankful for many things, including today’s quiet day to reflect on all the nice events that took place during the week. One of the many things I feel appreciative about is the fact that all of the side dishes I prepared for the Thanksgiving meal were delicious. And I am thankful that SensitiveHusband is such an excellent vegetable chopper! Here’s why…

About two weeks ago, MIL and I were talking about the Thanksgiving menu. MIL and FIL planned to host the holiday meal at their house and cook the turkey and mashed potatoes, among other things. Others coming would prepare additional side dishes. Would I want to try a new recipe that MIL found in her most recent magazine? The recipe was for Roasted Acorn Squash and Beet Salad. As luck would have it, I had just been to the grocery store and had purchased both acorn squash and golden beets, which are the headline ingredients in this recipe. Sure, I would try a new recipe! I just needed to remove the mustard from the ingredient list and adjust the quantity of a few things to suit my taste, and the rest seemed straight-forward.

Now that I have prepared this recipe once, I definitely recommend adding an important preparation technique: a buddy who can chop, peel and seed the acorn squash as you look on in an encouraging way. SensitiveHusband agreed to do this part for me – it took about one hour of focused attention and a really sharp knife to prepare the two acorn squash. I tried to keep SensitiveHusband’s spirits up by cheering him on, but in his effort to only chop the squash and not his fingers, my happy words did not receive much of a response. However, the resulting acorn slices really were works of art! Thanks again, SensitiveHusband!

If you would rather not use a buddy system in preparing this recipe, I suggest purchasing butternut squash that is already peeled, seeded and cubed instead of the acorn squash.

However you decide to prepare this recipe, know that it will be delicious and look beautiful alongside your other side dishes. Thanks!

Roasted Acorn Squash and Beet Salad (inspired by Better Homes and Gardens, November 2012 recipe) Ingredients:
1 lb. small yellow and/or red beets
1 acorn squash (1 1/4 lb.), peeled, seeded, and cut into 1/2 inch slices
1 Tbsp. olive oil
1/4 cup maple syrup
1/4 cup fresh lemon juice
1 Tbsp. maple syrup
1/3 cup olive oil
3 cups baby romaine or leaf lettuces
1/3 cup fresh pomegranate seeds

Preparation:
1. Preheat oven to 400 degrees F. Tightly wrap beets, separated by color, in aluminum foil bundles. Roast 1 hour, or until tender when tested with a sharp knife. Remove from oven; cool slightly. Peel beets and set aside.
2. Place squash slices on a rimmed baking sheet. Toss with salt, pepper, and 1 Tbsp. olive oil. Roast 15 minutes. Drizzle 1/3 cup maple syrup over squash, and roast another 10 minutes, or until tender; cool.
3. To make dressing, in a small bowl whisk the lemon juice and 1 Tbsp. maple syrup together. Add the 1/3 cup olive oil and whisk till smooth.
4. To assemble, place lettuces in middle of a large plate. Pour half of dressing over salad and toss. Arrange beets and squash on lettuce. Sprinkle with pomegranate seeds. Pass remaining dressing.

I am sharing this recipe with Simply Sugar and Gluten Free.

Herb and Vegetable Omelette

Good day, everyone! I hope that this blog post finds you doing well. This past week has brought both tragedy and triumph, especially for those living on the East Coast of the U.S. Hurricane Sandy brought much destruction and devastation particularly to those in the New York City metro area. I continue to send my good thoughts and wishes to those still adversely affected by this storm. Our one downed tree, which fortunately missed our house, is a small price to pay compared to those who have lost their homes.

As for the triumphs, there have been a number of things to celebrate over the past weeks. Thanks to my colleague/friend, I was able to join her in seeing the Dalai Lama! What an amazing experience to be in the presence of a spiritual leader. And yesterday SensitiveHusband and I attended the wedding of close family friends – needless to say there was much celebrating, visiting, well wishes, and fun dancing.

Another interesting thing that happened this week was my purchase of a vintage Armani blazer at a “posh tag sale” – my first piece of clothing of this caliber will happily be incorporated into my professional wardrobe.

Speaking of interesting…this week I made the frozen chocolate bananas for a work function. There were a few left over, so my colleague/friend Kristi (of Dalai Lama ticket fame) brought them home and let her Vitamix do its magical mixing. The result was a yummy milkshake-like treat that was free of dairy, gluten and cane sugar.

I also tried my hand at a small omelette since I had some leftover vegetables and herbs that I didn’t want to waste. An omelette is a great snack or meal for any time of the day or night, and it is as versatile as you are creative. Here is my take on a personal-sized Veggie Omelette:

Ingredients:
3 eggs
1 pat of butter
8 thin zucchini slices (raw or roasted leftovers)
1/2 teaspoon chopped parsley
6 basil leaves (shred 4 leaves, leave 2 leaves intact)
1 teaspoon Pecorino Romano cheese (or other grated cheese)
1 tablespoon Asiago cheese (or other shredded cheese)

Preparation:
Heat a nonstick skillet to medium high heat. Melt a small pat of butter in the pan. Once the skillet is heated, pour in the three beaten eggs. Allow eggs to lightly set in the pan, about 30 seconds, and then add the zucchini, parsley, four shredded leaves of basil, and Pecorino Romano cheese. When eggs start to bubble and the sides are loosened from the pan (about two minutes), flip the eggs over (you may want to fold over half and then unfold). Allow to cook until golden brown, about another two minutes. Slide cooked creation onto a plate, and garnish with Asiago cheese and two basil leaves.

I am sharing this recipe with Simply Sugar and Gluten Free.

Homemade Vanilla Extract for a Sweet Disposition

This weekend, SensitiveHusband and I enjoyed listening to our local symphony’s performance of Beethoven’s Ninth Symphony. It was so wonderful to hear this piece live, especially during the fourth movement when the chorus, soloists and symphony were performing the famous “Ode to Joy” segment. When we got home we enjoyed homemade chocolate chunk cookies, which contributed greatly to our pleasant evening.

I read a news article this week about a growing body of evidence that links what we taste and how we feel. In the Journal of Personality and Social Psychology, researchers reported findings that a person with a sweet tooth is more likely to have a sweet disposition and be more generous with his or her time. The findings also stated that food can affect one’s judgement – a person may be more critical of a situation after drinking a bitter drink, for example. Perhaps this is why my office has a candy jar rather than a rotten egg jar!

Last year my sweet sister-in-law, Bree, gave me a jar of homemade vanilla extract. She said that it was so easy to make – it just takes two ingredients – and the result lighter and fresher than the store-bought variety (without the corn syrup that is sometimes added too). I used her creation rather quickly so I started making my own. I even make extras from time to time and give them as gifts to sweet people in my life. They make great holiday gifts – and if you start now you will have time to prepare them for this year’s winter holidays.

The ingredients are 1 vanilla bean and 1/3 cup vodka. Cut the vanilla bean down the middle so that the flesh is exposed. Add the vanilla bean to a clean glass jar (I use the jar that the bean comes in). Add the vodka in the jar so that it covers the bean. Close the jar tightly and shake the bottle. Store the mixture in a dark, cool place for about eight weeks, shaking the bottle once a week. The mixture will start as a clear liquid and will end up as a brown liquid – vanilla extract! Use in all of your baking to enhance the sweetness of your desserts, and according to researchers, to sweeten your day too!

I am sharing my recipe with Simply Sugar and Gluten Free and Katie’s French Language Cafe.

Happy Birthday Spaghetti Squash with Polenta

A few weeks ago I tried my hand at polenta croutons. The crispy cubes of cornmeal were nice accompaniments to a garden salad. Shortly after my first foray into preparing polenta, my friend/colleague Kristi made the polenta croutons and added them to a tasty vegetarian/vegan entree that she created.

Start with a spaghetti squash – Heat the oven to 400°F. Cut the squash in half lengthwise and scrape out the seeds. Brush the flesh with 2 tablespoons of the oil and season with salt and pepper. Place the squash halves cut-side up on a baking sheet and roast until fork tender, about 50 minutes. Remove the squash from the oven and let sit at room temperature until just cool enough to handle. Scrape the flesh with a fork to make long strands; set aside.

Heat a skillet with oil on medium-high heat. Saute sliced onion, diced tomatoes, sliced zucchini, chopped garlic and capers. In a separate skillet, cook the polenta croutons. Place the sauteed mixture on top of the spaghetti squash and add polenta croutons to garnish. Serve hot and enjoy.

Thanks, Kristi, for this inspired dish. Have a happy birthday!

I am sharing this recipe with Simply Sugar and Gluten Free.

I Dig Fresh Fig Dessert Bars

I dig figs. As a kid, I enjoyed snacking on Fig Newtons, which had a nice combination of crunchy filling and smooth cake. Or were the outer crusts actually cookies? It was always hard to tell.

About one year ago, while at my friend’s parents’ house, I sampled a fresh fig just picked from their fig tree. At first I was a little apprehensive because I did not know how to eat it. However they showed me how to break off the stem, peel the fruit and eat the center. The fruit was so good – sweet, juicy and fragrant. So I tried another and another…and when I went home that evening, I had a bundle of figs under my arm to enjoy over the next few days.

Not only are figs delicious, but they are nutritious too! According to Nutrition-and-you.com, figs are low in calories and high in soluble fiber. They are also good sources of vitamins A, E, and K; and minerals such as calcium and iron. So what’s not to love about this fabulous fruit?

This past summer, whenever I saw fresh figs on sale at the grocery store, I purchased them. The figs usually come six to a package and I would eat them two at a time. I never dreamed that I would ever have enough figs in my possession to use them in a recipe – since I just enjoy eating them as is. Well last week, I had a lovely visit with my friend’s parents…and they gave me about 80 figs to take home! For the past few days SensitiveHusband and I have been enjoying an ongoing fig feast!

And guess what other wonderfulness was bestowed on me? They gave me a small fig tree, grown from a piece of their own. It is now adorning my deck and has a few figs ripening on it. We will bring it in for the winter and intend to plant it in the springtime. I hope to experiment with fig recipes in the years to come. That is, if I don’t eat them all as I pick them!

Below is my first ever fresh fig recipe…the result is a fabulous dessert bar mixed with oats and walnuts. I started with a recipe from Simple Daily Recipes that used fresh figs (rather than dried) as the main ingredient. I substituted the cane sugar with honey and reduced the overall amount of sweetener used. I also played with the amount of water in the filling and added some chopped walnuts to the top for an extra flavor boost and crunch. These bars are so delicious; thanks to Tony and Sylvia for their hospitality and for sharing their figs and tree with me!

Ingredients:

Filling
*3 cups fresh figs, chopped and without stems (may be peeled or unpeeled)
*3/4 cup water
*1/2 cup honey
*pinch of salt
*2 tablespoons lemon peel, finely grated
*2 tablespoons unbleached all-purpose flour
*1 tablespoon water
*2 tablespoons lemon juice
*1/2 cup walnuts, finely chopped

Crust
*1 cup butter
*1/2 cup honey
*2 cup unbleached all-purpose flour
*pinch of salt
*3 cups oats
*1/4 cup walnuts, finely chopped

Preparation:
Heat Oven to 350ºF.

For Filling: Combine figs, water, honey, salt and lemon peel in saucepan and simmer 1 hour or until dark and thickened, stirring occasionally. Combine flour and water and stir into fig mixture. Cook 5 minutes longer, stirring constantly. Remove from heat and stir in lemon juice and walnuts.

For Crust: Mix butter with honey until light and fluffy. Combine flour, salt, and oats into creamed mixture. Divide mixture in half and place half into the bottom of a well-greased 9 x 13 inch pan. Spread the fig filling evenly over bottom layer. Sprinkle remaining half of crust mixture on top, along with the remaining walnuts, and press with fork.

Bake for 30 minutes or until lightly browned around the edges. Cut into squares while still warm. Cool completely before removing from pan.

I am sharing this recipe with Simply Sugar and Gluten Free.

Have a Party with Oven-Roasted Carnival Squash

Happy day, everyone! The weather is spectacular in New England – the days are warm with low humidity while the nights are cooler. This is perfect windows-wide-open-to-let-the-breezes-in weather! And the farm share continues to amaze us with a late-summer bounty. Recently we received a carnival squash – it looked like a party all right – with its speckles of green, orange, yellow and black, reminding me of confetti. The farm included a simple recipe for roasting this gourd-looking squash, which said would bring out the natural flavors of the vegetable. SensitiveHusband and I decided to give it a try, substituting the brown sugar with maple syrup, and it did not disappoint – its taste and texture resembled a cross between acorn and butternut squashes. If you see this vegetable at the store or farm, do pick one up and give it a try. It’s a delicious vegetable for this time of year.

Ingredients:
1 carnival squash
4 tablespoons butter
1/4 cup maple syrup

Preparation:
Cut squash in half to make two matching boats. Scoop out seeds from center. Put half the butter and half the maple syrup in each side. Place in a glass dish, cover with foil, and place in the oven at 375 degrees for about 1 hour. Please note: the cooking time may vary depending on the size of the squash.

I am sharing this recipe with Simply Sugar and Gluten Free and Gastronomical Sovereignty.