Tag Archives: vegetarian

An Abundance of Vegetables and an Afternoon Makes a Rustic Tart

spinach-bokchoy-collards
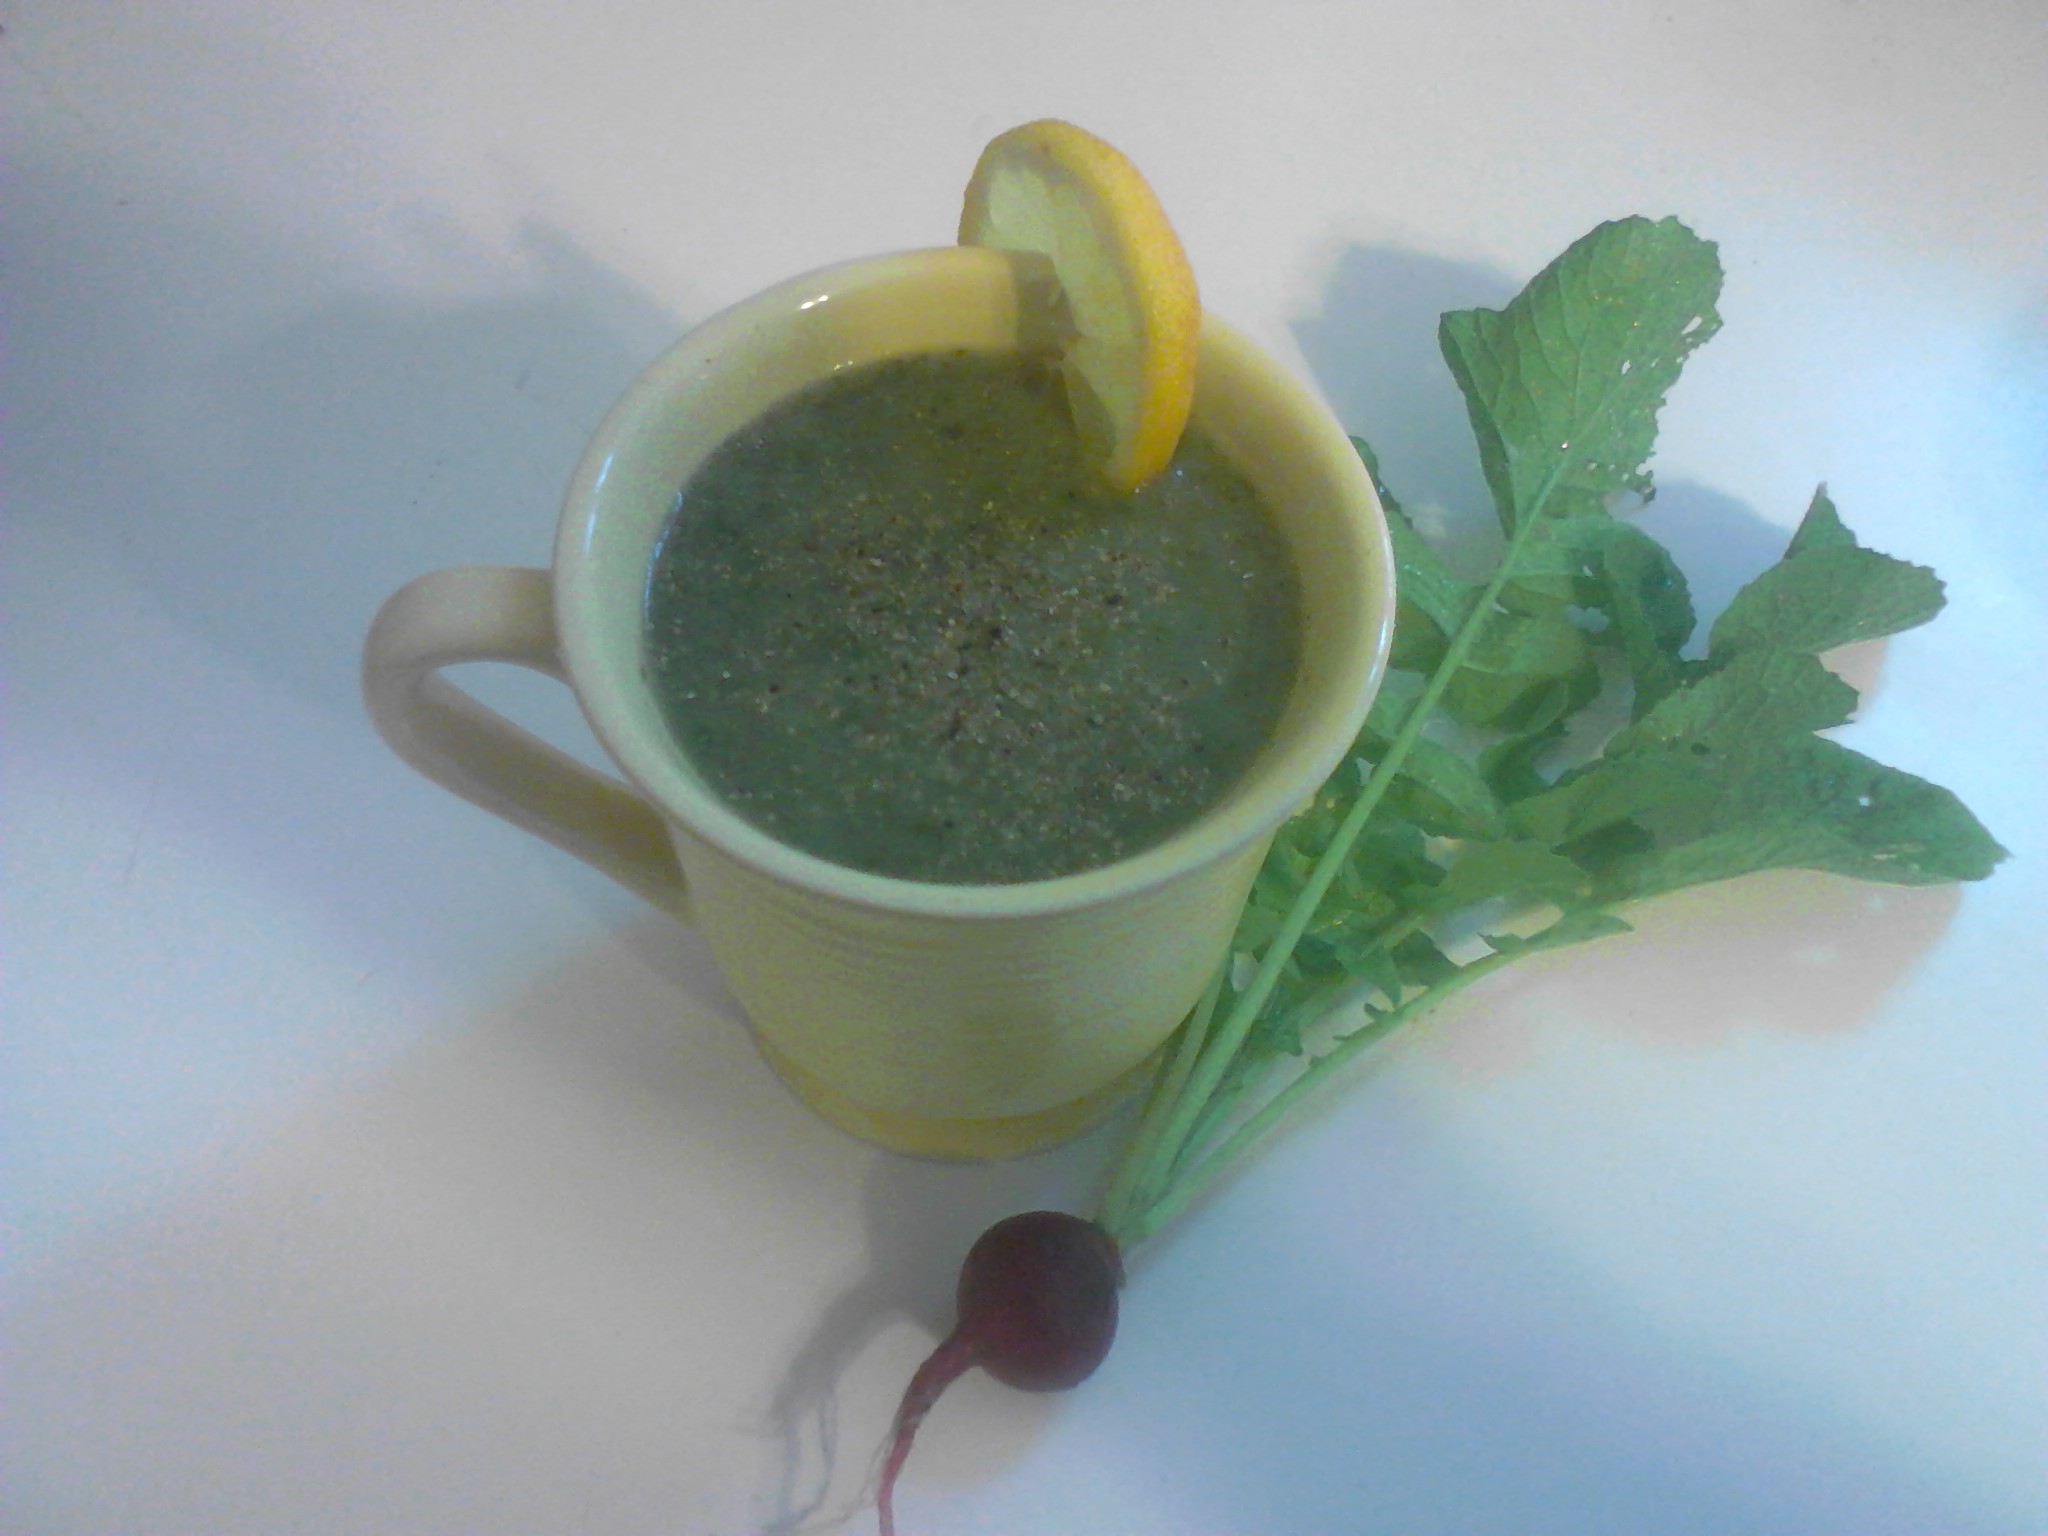
Happy Summer everyone! The days are long and the temperatures are heating up. Speaking of summer, have you participated in my latest two-click poll? I am interested in your opinions regarding your favorite summertime foods. I plan to create a new recipe based on the food that receives the most votes, so thank you for your participation! Just click this link or visit my home page.

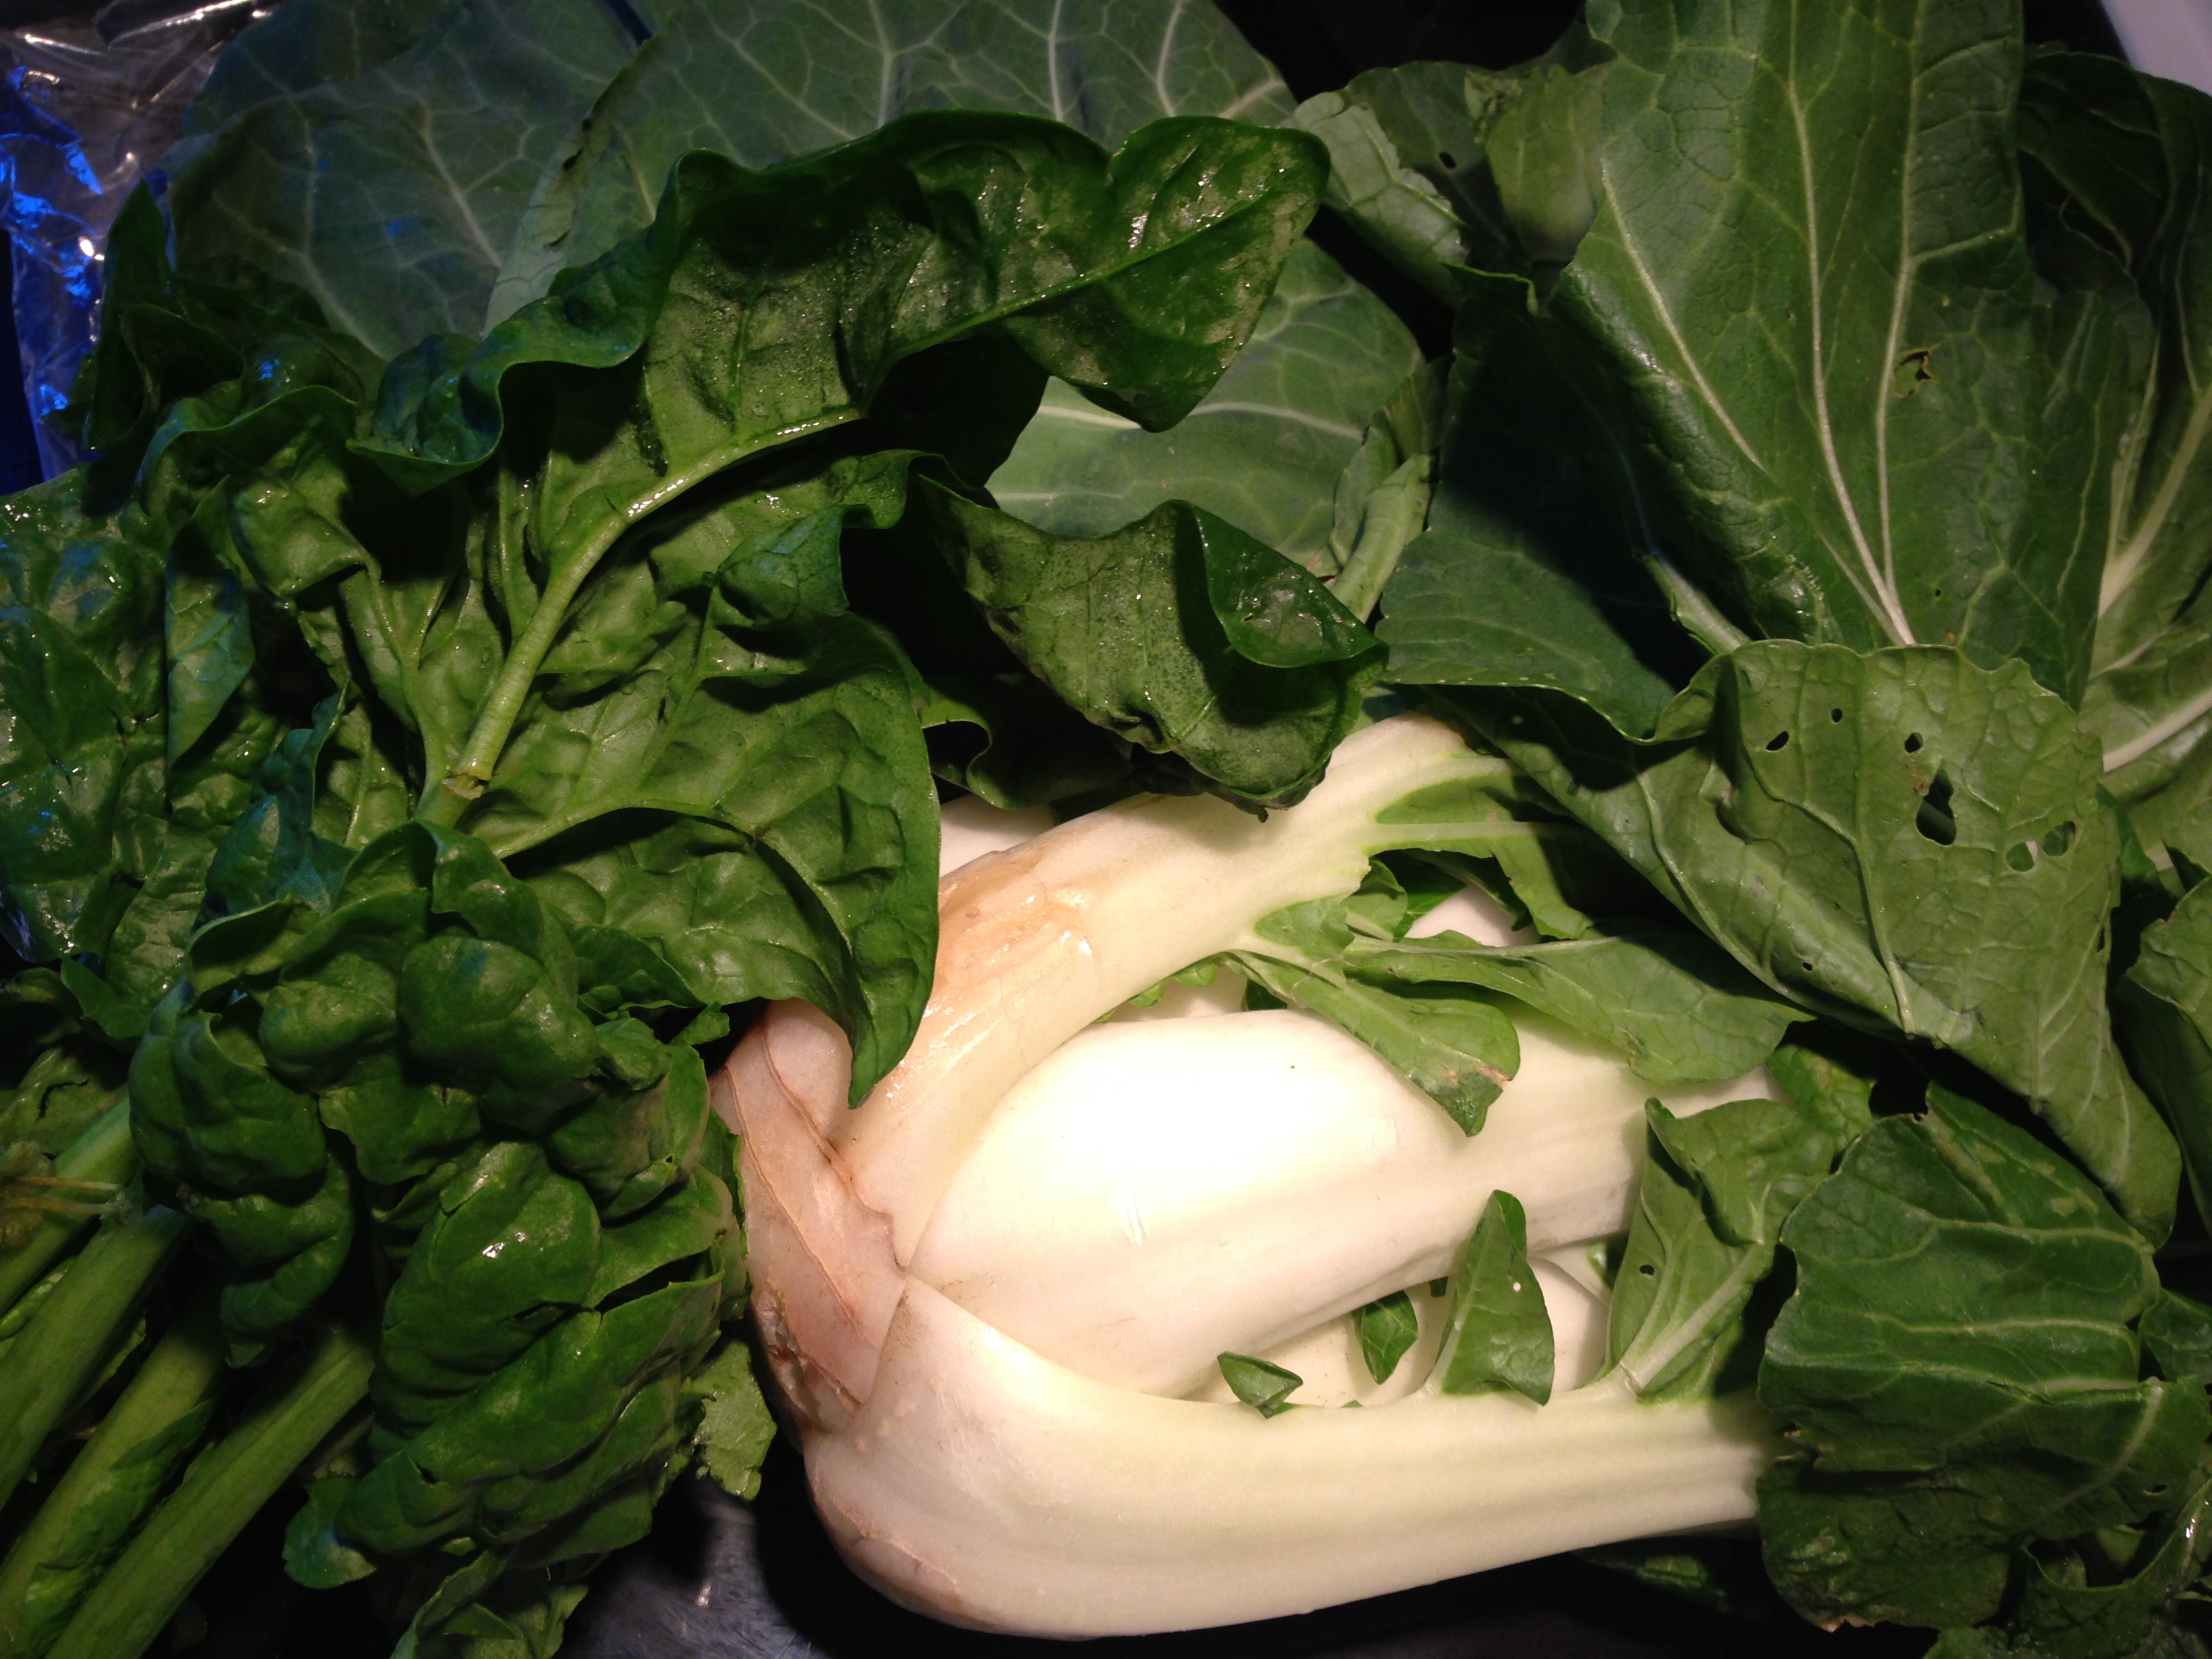
My CSA farm share continues to surprise me. Last week my box was filled with an assortment of green leafy vegetables including bok choy (pictured in the front), collard greens (on the right), and spinach (on the left). The bok choy, also referred to as Chinese Cabbage, has thick, white, edible stems. Collard greens, like bok choy, are part of the cabbage family, with wide, green stems that resemble pretty fans. Native to central and southwestern Asia, spinach is an edible flowering plant in the amaranth family with leaves that are smaller than the others already mentioned. They are all delicious but I prefer to eat them cooked because they have a sweeter flavor and are easier to chew and digest. Since I had an abundance of leafy greens, I decided to try a vegetable tart. I was inspired by Leah Eskin’s recipe for Chard Tart that I found in a newspaper. I had never made a tart before, and I must warn you, the recipe is a bit more involved then one of my typical recipes. There are a number of steps and the total process takes awhile because you have to allow for chilling time (for your crust, as well as yourself).

veggietart
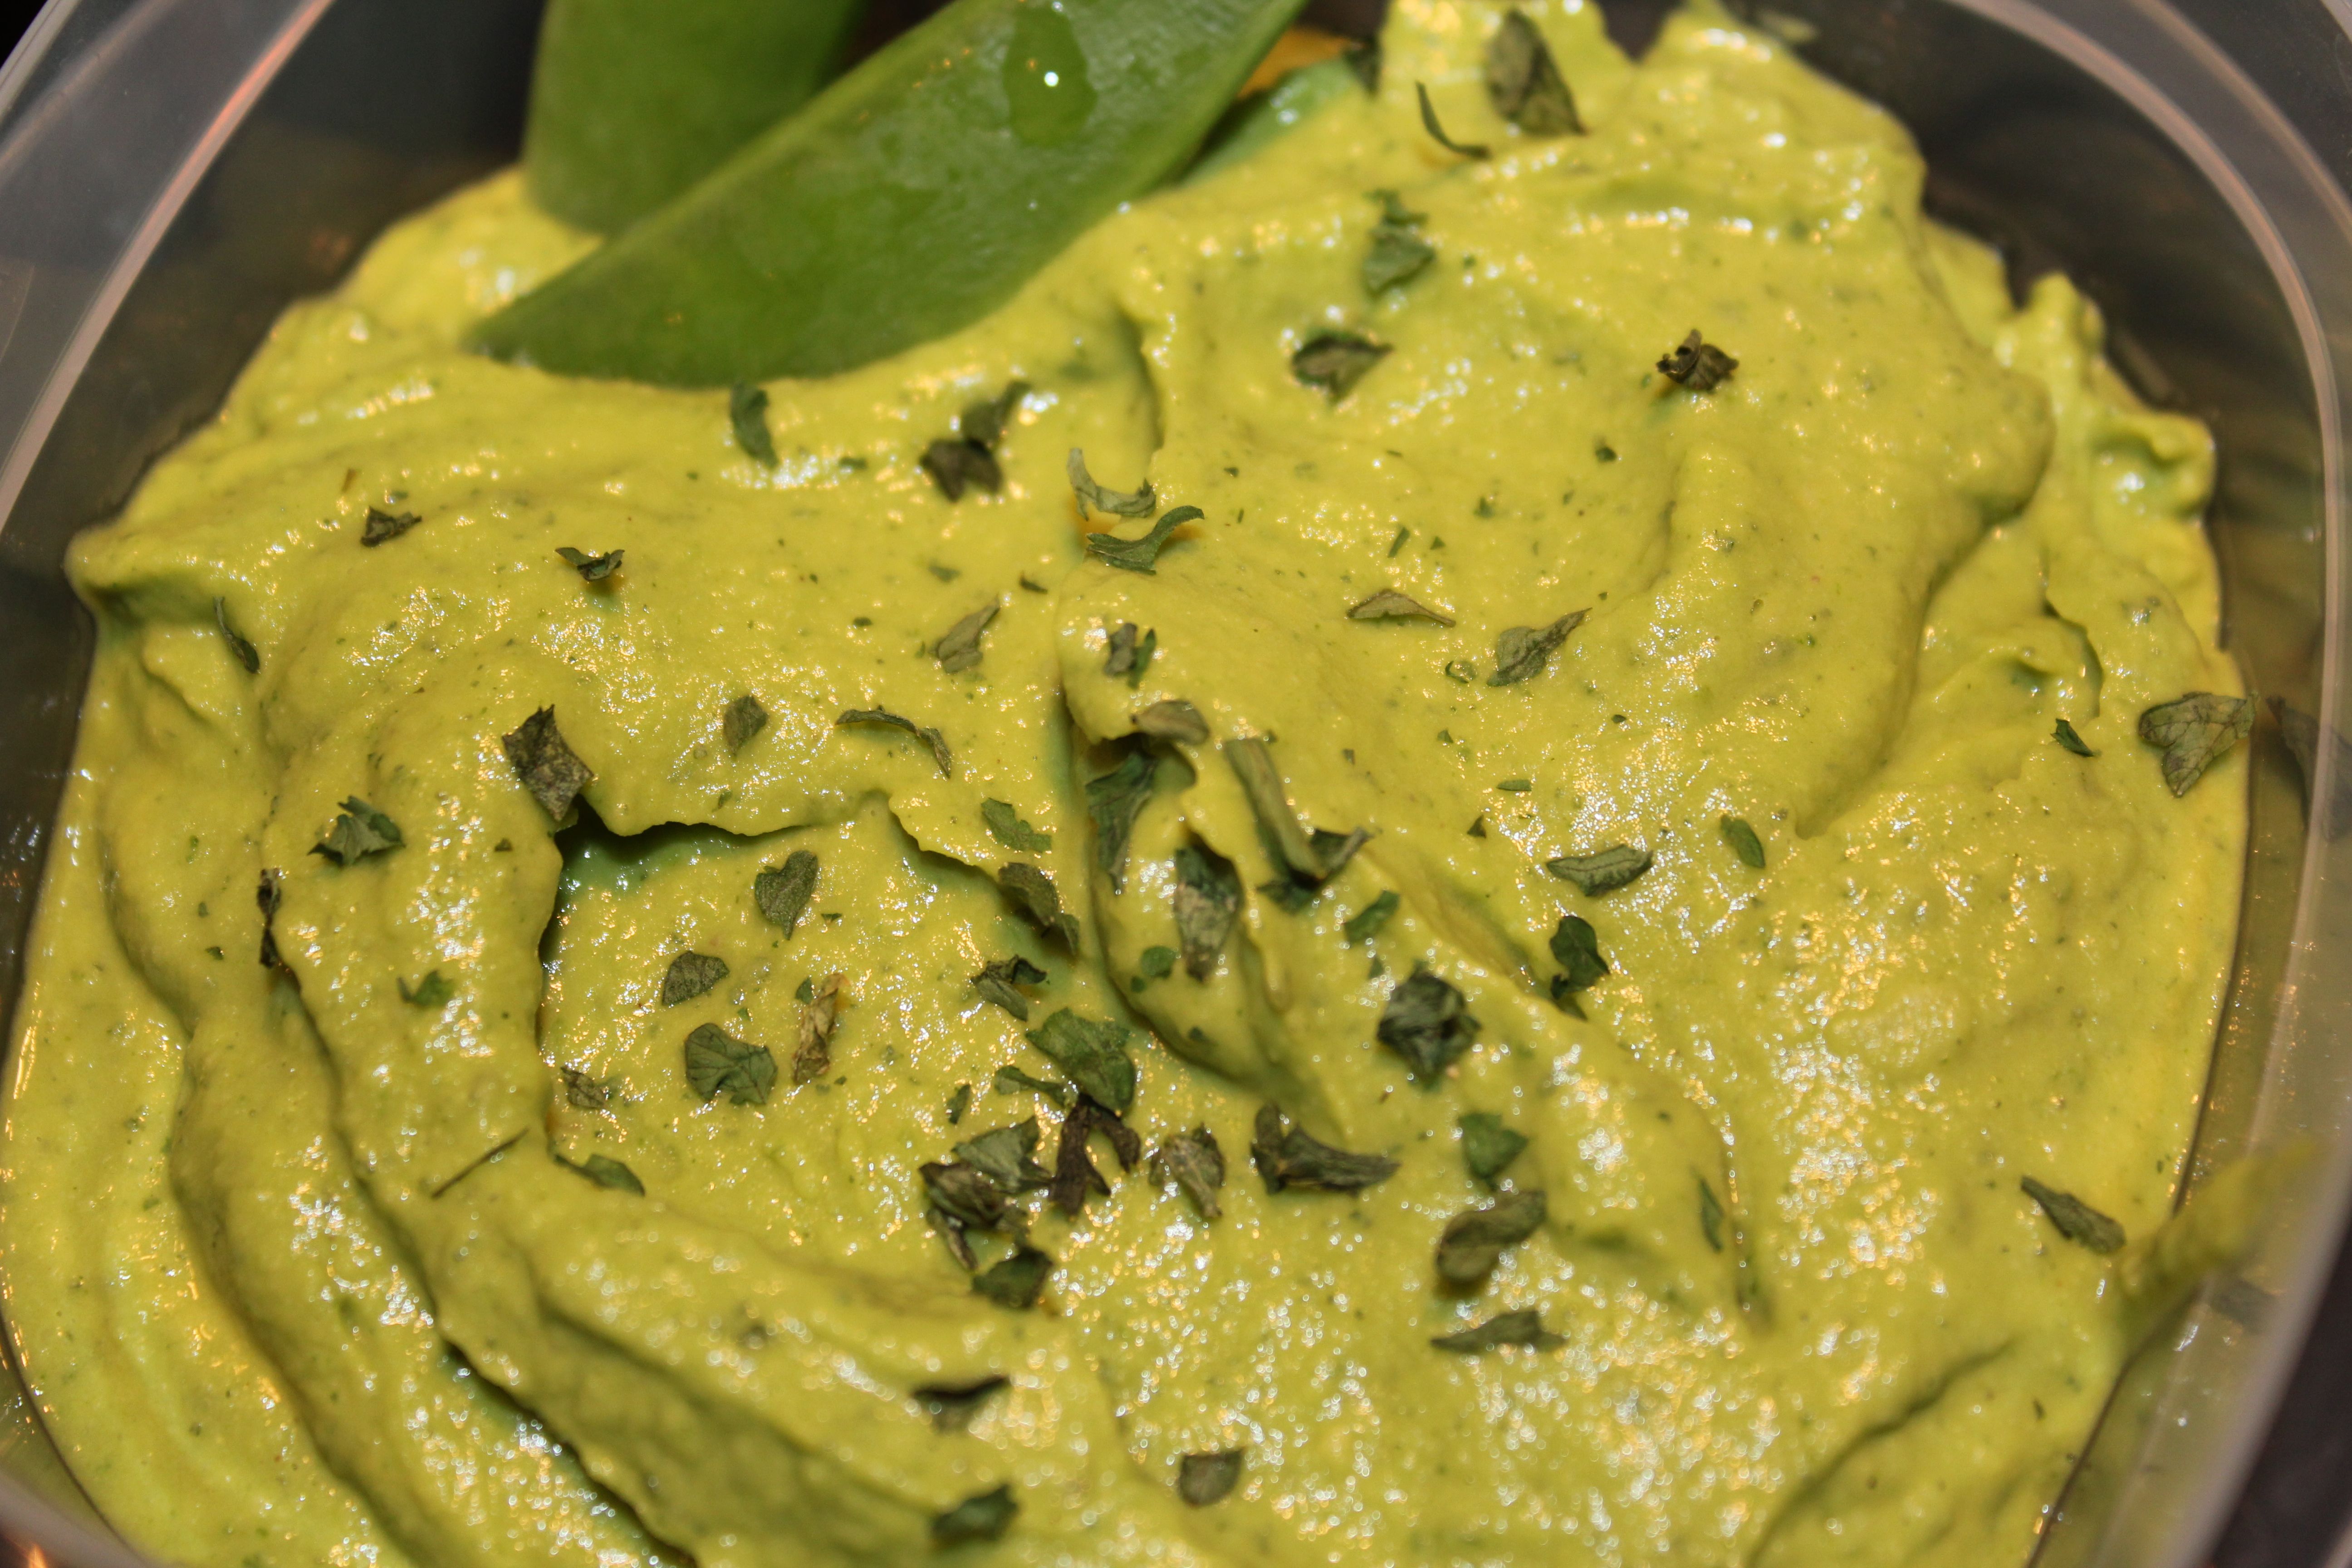
The recipe calls for rolling out the pastry dough, which I would rephrase to “pound with fists until the dough kind of resembles a lopsided circle.” However, the shape of your dough only lends itself to the rustic nature of this tart. The flavor is delicious, and the crust was quite crispy. I liked the comfortable look of the tart, which can be eaten as a vegetable alongside a main entree, or as the main highlight of a meal.

veggietartsliceThe tart can be easily frozen, although SensitiveHusband and I had no trouble polishing this off within a few days. If you find yourself with an afternoon without a set schedule and an abundance of green vegetables, give this recipe a try.

Rustic Green Vegetable Tart

Ingredients:
–2 bunches (about 1 ½ pounds) leafy green vegetables (such as swiss chard, spinach, kale, collard greens or bok choy)
–2 tablespoons olive oil
–kosher salt and freshly ground black pepper
–1 clove garlic, finely chopped
–1 egg yolk
–2 tablespoons freshly grated Parmesan
–2 teaspoons fresh herbs (such as parsley, basil or thyme)
–Pastry (recipe below)

Shred: Fold each washed leafy vegetable in half along its center rib. Trim away ribs. Roll up leaves and slice thinly crosswise.

Wilt: Heat olive oil in a wide skillet over medium heat. Add garlic, salt and pepper and cook, stirring, until lightly colored, about 2 minutes. Toss in green vegetables. Cook, stirring, until wilted and liquid has evaporated, about 5 minutes. Take off the heat and allow to cool slightly, about 5 minutes. Stir in egg, cheese and herbs.

Roll: On a lightly floured work surface, roll out pastry to a 12-inch circle. Roll around the pin and unroll onto a parchment-paper-lined baking sheet. (Alternatively, pound pastry with fists on a lightly floured work surface until pastry resembles an oddly-shaped circle. Transfer very carefully onto a parchment-paper-lined baking sheet.)

Fill:
Spread vegetables onto pastry in an 8-inch circle. Fold edges of pastry up and over, forming a casual tart.

Bake: Slide pan into a 400-degree oven, and bake until pastry turns golden, about 35 minutes. Serves 8.

Pastry: Mix well: 1 cup flour, 1/4 cup almond flour, 1 teaspoon maple syrup, 1/4 teaspoon fine salt and a few grinds of pepper. Drop in 9 tablespoons cold unsalted butter, cut into slices. Cut butter into flour mixture with two forks until lumps range in size from cornflakes to crumbs. Drizzle in up to 5 tablespoons cold water, folding with a flexible spatula or fork, until pastry comes together. Pat into a thick disk or ball. Wrap in waxed paper and chill at least 1 hour.

I am sharing my recipe with Simply Sugar and Gluten Free.

Advertisement

Rachel’s Radish Greens Soup

Today’s post is a real treat from a guest blogger! When Rachel is not crunching numbers, she enjoys crunching on fresh vegetables from her new garden. I hope you enjoy her story of discovering the beauty and taste of fresh radishes, and finding a recipe that includes both the root and leaves.

RadishGreensSoupRadishes so tasty they inspired me to write a blog
Radishes are not my favorite food. They are hard, pungent, and have a propensity to be pithy and/or rubbery if left to their own devices for too long a time. So when I was looking to plant my spring garden, I was not inclined to waste precious space on such a disagreeable crucifer. But after reading that radishes can be co-planted with carrots to double up on space (as radishes grow quickly and would be harvested well before the carrots are large enough to need the room) and that this is a great way to break up the soil for the growth of the more tender root vegetables, I decided to spend the $1.89 for a packet of seeds and give it a go.

True to the promise of a quick growing season, last week, some of my first plantings were ready for harvest. I know only a couple of recipes that use radishes, and those call for only the roots. However, the plants looked so lovely and fresh when I plucked them from the ground, it seemed like a waste the throw out 2/3 of the plant, especially after all the work it took to grow them (mainly, to prepare the ground, since once I planted the seeds, they pretty much took off on their own). So I turned to a lovely book given to me by Sensitive Economist, Vegetable Literacy by Deborah Madison, to see what could be done about the greens.

Not only did the book’s section on radishes regale me with tales of gardening in Alabama and give a lesson on the diverse varieties of radishes available (note to self: try planting the milder-flavored French Breakfast variety!), but it also persuaded me to try eating one of the radishes “as the French do”: raw, tender leaves and all, with a bit of (vegan) butter spread and salt. Magnifique! These radishes were tender and juicy, nothing like the grocery-store radishes I remembered. I ate all three, and had to go back to the garden for more to get the greens needed to make a vegan, sugar-free, yeast-free, gluten-free version of Madison’s delicious radish-top soup recipe.

Even without the butter, yogurt, and chicken stock, the soup has a light, clean, and surprisingly delightful flavor, thanks to the fresh radish greens. It’s perfect for a spring lunch! Unlike the roots, radish greens are very mild, but you can also add thinly sliced radish roots to the soup as well if you want a little more zest.

Radish Greens Soup
–1 tbsp olive oil
–½ onion, thinly sliced (1/4 c of sliced leeks or garlic chives would probably be good, as well)
–4 small or fingerling potatoes (I used the purple variety, which gave the soup a nice, rich color), thinly sliced
–4 cups water
–tops of 10 radishes, rinsed, thick stems removed, and coarsely chopped
–fresh lemons for garnish

Place the olive oil, onion slices, potato slices, and a generous sprinkle of salt (in that order) in the bottom of a large pan over low heat. Cook, covered, for approximately 15 minutes to steam the potatoes and carmelize the onions. Add 4 cups of water and stir, scraping the bottom to incorporate the carmelized onions, and add the radish greens. Cook just until wilted, approximately 5 minutes. Cool, puree, and serve with sea salt, fresh ground pepper to taste, and a slice of lemon squeezed over the top.

I am sharing this recipe with Simply Sugar and Gluten Free.

Minding the Vitamix – Part 4/Finale: Chocolate Ice Cream

Chocolate Ice CreamThe alternate title for this blog post is: See you soon, old friend.

MIL and FIL returned from their trip and wanted to tell us about their travels…along with seeing their new Vitamix blender! I kept it good company while they were away by making turnip and potato soup, strawberry muffins, and spinach hummus. But I knew I had to try my hand at one more item before handing the appliance over…and that was a recipe for chocolate ice cream. The Vitamix cookbook had a recipe that looked fairly easy, and it only required me to substitute the sugar with maple syrup. There are only six ingredients needed and the time between measuring the ingredients and trying a spoonful of dessert is about five minutes. The result is what I would describe as a cross between a frozen ice and a gelato. It’s a refreshing treat that you can garnish any way you choose.

So now the Vitamix blender has been delivered to MIL and FIL’s house. Although I will offer to keep it company the next time they travel so I can try some new concoctions. See you soon, old friend.

Ingredients:
1 cup milk
1/2 cup unsweetend cocoa powder
1/3 cup maple syrup
1/2 cup nonfat dry milk
1 teaspoon vanilla extract
4 cups ice cubes

Preparation:
Place all ingredients into the blender in the order listed and secure lid.
Turn machine on and slowly increase speed to High. You may need to use a tamper to press the ingredients into the blades.
In about 45 seconds, the sound of the motor will change and four mounds should form.
Stop machine. Do not over mix or melting will occur. Serve immediately.

I am sharing this recipe with Simply Sugar and Gluten Free…and am happy to be featured too!

Minding the Vitamix – Part 2: Fresh Green Hummus

green hummusThe alternate title for this blog post is: Top of the morning – and the balance of the day – to you!

MIL’s Vitamix blender continued to sit on my counter, so I thought I would try my hand at one of my favorite snacks, hummus. Hummus is an Arabic word meaning “chickpeas” and is made by mixing mashed chickpeas with oil, lemon juice and other seasonings. I had never made my own hummus before, preferring the convenience of a store-bought package. I now realize how easy it is to make and how creative I can get with the seasonings.

Since today is St. Patrick’s Day, I thought I would try making hummus seasoned with spinach so that its hue would match the official color of the day. If you do not have spinach on hand, other green, leafy vegetables like parsley, basil or kale would do well. My inspiration for this recipe is from Just a Pinch’s White Bean Green Hummus.

Ingredients:
1 can garbanzo beans, rinsed and drained
2 oz fresh spinach leaves, rinsed (about one large handful)
2 tbs dried parsley
2 cloves garlic, peeled
juice from 1 lemon
1/3 cup olive oil
salt and pepper, to taste

Preparation:
Using a food processor or Vitamix blender, pulse all ingredients until desired consistency is reached. Serve with pita points, crackers, or vegetable slices.

May you always have walls for the winds,
a roof for the rain, tea beside the fire,
laughter to cheer you, those you love near you,
and all your heart might desire.

I am sharing this recipe with Simply Sugar and Gluten Free.

Minding the Vitamix – Part 1: Turnip, Apple & Potato Soup

turnip soupThe alternate title for this blog post is: Sending My Condolences to the 30-Year-Old Blender.

A few weeks ago my mother-in-law called me to say that her trusty decades-old blender had stopped working that morning. It just conked out while making a smoothie! I offered my condolences because the blender had been a staple in MIL and FIL’s kitchen for some time. However, as MIL noted, all was not lost, because the Vitamix blender that she had her eye on had just gone on sale! She wanted to purchase the new appliance but knew that she would be starting a vacation soon after, and did not want her shiny, new blender to be sitting on her front step. So being the generous DIL that I am, I offered to have it shipped to my house, where I could take it in. And I offered to go one step further – I would test out the new Vitamix. After considerable laughing on both sides of the phone, we decided to venture forth with this plan.

The Vitamix arrived on my doorstep on a Thursday evening. I opened the box to reveal the machine that had a very pretty cinnamon hue. I spent most of that weekend just reading the manual and all of the cookbooks that came with it. There was quite a bit of reading material! By Sunday afternoon I was ready to try my first creation – Turnip Soup! I enjoy roasted turnips and had never tried making a soup that required blending. Now was the time!

I peeled and cubed the turnip before roasting so the vegetable became very tender. I chopped the potatoes and apples yet left the skins on because I figured the Vitamix would blend all those pieces well, which it did. If your blender is not as powerful you may want to peel those items.

Turning a Vitamix blender on for the first time is quite an experience. Please note that any lightweight items (such as napkins, nuts, etc.) on any nearby counterspace will move as a result of the wind current created. The hum is distinctive, kind of like an airplane taking off but not as loud. That Vitamix had the food blended in no time! I had to blend a few batches, which got to be kind of a messy experience, but the blender is really easy to clean. Below are the steps I took to a very tasty blended soup with roasted turnip, apple and potato. I hope that you like the soup as much as SensitiveHusband and I did.

Ingredients:
1 turnip, peeled and cubed
2 apples, peeled (optional), cored, and coarsely sliced
2 russet potatoes, peeled (optional) and cubed
2 tablespoons butter
2 cups vegetable broth (I like Pacific Natural Foods Mushroom Broth)
4 cups water
4 cloves garlic, peeled
salt and pepper to taste

Preparation:
Cut turnips into (roughly) same-sized pieces, about ½ inch to 1 inch thick, depending on diameter. Don’t worry about precision because the soup is going to be blended anyway. Place turnip pieces in a 9×13 glass pan lined with parchment paper. Toss with olive oil, salt and pepper, and then bake at 375 degrees for 45 minutes. Let cool before blending.

Peel the potato and cut it into pieces about the same size as the turnip.

In a heavy-bottomed soup pot, heat the butter over a low-to-medium heat.

Add the garlic and cook for 2-3 minutes.

Add the broth, water and potato. Increase the heat to medium-high and bring to a boil. Then lower the heat and simmer for 15 minutes or until the potatoes are soft enough that they can easily be pierced with a knife.

Remove from heat and purée the potato and liquid in a blender along with turnip, working in batches if necessary.

Tip: Use care when processing hot items in a blender as the hot steam can sometimes blow the blender lid off. Start on a slow speed with the lid slightly ajar to vent any steam, then seal the lid and increase the blending speed.

Return puréed soup to pot and bring to a simmer again, adding more broth or stock to adjust the thickness if necessary.

Season to taste with salt and pepper. If desired, add a garnish such as sauteed garlic and kale.

Lentil Vegetable Soup

2013-01 lentil veggie soupI have really been enjoying soup lately. With the cold temperatures outside and frequent snowfall, it’s nice to know that a fresh, hot cup of soup can be ready in minutes. Soup is a great way to incorporate a variety of vegetables into a meal, and by adding lentils it is hearty enough for an appetizer or a whole meal. An article in the Proceedings of the National Academy of Sciences late last year finds evidence that humans evolved with larger brains because they cooked their food, which allowed more energy and nutrients to be absorbed in their bodies. It sounds like eating homemade soup is both tasty and a smart thing to do.

I wanted to try making a lentil soup, since you do not have to spend time soaking or peeling lentils – just rinse and add to the soup. This is a time saver over dried beans. I found an online recipe for Chunky Vegetable-Lentil Soup from Better Homes and Gardens, and made a few modifications to remove the onion and boost the number of veggies. I added peapods to my soup, and in my next batch I added spinach, which both worked well and added to the flavor. This soup tastes even better on the second day once the vegetables have a chance to meld. When reheating, you may choose to add another cup of water because the lentils, over time, will soak up moisture and the soup will thicken.

I hope you enjoy this delicious soup.

Ingredients
1 tablespoon olive oil
1 clove garlic, minced
1 cup dry green lentils, rinsed and drained
1 pound whole small mushrooms, sliced
4 medium carrots, thinly sliced (2 cups)
2 stalks celery, chopped
3/4 cup favorite vegetable (such as peapods or spinach) – optional
4 cups water
2 cups vegetable broth (I like Pacific mushroom broth)
1/4 teaspoon salt
1/4 teaspoon ground black pepper

Directions
In a 4-quart saucepan, heat oil over medium heat. Add garlic; cook for 2 to 3 minutes until garlic is tender, stirring occasionally. Stir in lentils; cook and stir 1 minute.

Add mushrooms, carrots, celery, any other favorite vegetable, water, vegetable broth, salt and pepper. Bring to boiling. Reduce heat and simmer, covered, about 25 minutes or until lentils are tender.

Kristi’s Homemade Pumpkin Hummus

I am happy to share the following recipe and story from my friend and colleague, Kristi. Thanks for writing a guest post, Kristi! I had an opportunity to sample some of these hummus leftovers, and the delicious factor is quite high. If you are looking for a yeast-free and sugar-free pita, check out Chatila’s Bakery.

PumpkinHummus.aspxBefore the Thanksgiving holiday, I came across some pumpkin hummus in the store made by one of the well-known hummus producers – but was disappointed to find that it contained sugar (which of course, made it very yummy – but not so healthy). So I was so excited to come across this recipe for homemade pumpkin hummus that is super easy to make – and just in time for the holiday season when pumpkin, whether fresh or canned (just make sure it doesn’t have any additives) is abundant. PS – We recently found out my husband has a sensitivity to garbanzo beans, so it’s an added plus that this recipe is made without them – and he still gets to enjoy the hummus experience!

Ingredients
4 (6-inch) pitas, each cut into 8 wedges
Cooking spray
2 tablespoons tahini
2 tablespoons fresh lemon juice
1 teaspoon ground cumin
1 teaspoon olive oil
3/4 teaspoon salt
1/8 teaspoon ground red pepper
1 (15-ounce) can pumpkin
1 garlic clove, chopped
2 tablespoons chopped fresh flat-leaf parsley
1 tablespoon pumpkin seed kernels, toasted (optional)

Preparation
Preheat oven to 425°.

Place pita wedges on baking sheets; coat with cooking spray. Bake at 425° for 6 minutes or until toasted.

Place tahini and next 7 ingredients (through garlic) in a food processor, and process until smooth. Add parsley; pulse until blended. Spoon hummus into a serving bowl; sprinkle with pumpkinseed kernels, if desired. Serve with pita wedges.

Herb and Vegetable Omelette

Good day, everyone! I hope that this blog post finds you doing well. This past week has brought both tragedy and triumph, especially for those living on the East Coast of the U.S. Hurricane Sandy brought much destruction and devastation particularly to those in the New York City metro area. I continue to send my good thoughts and wishes to those still adversely affected by this storm. Our one downed tree, which fortunately missed our house, is a small price to pay compared to those who have lost their homes.

As for the triumphs, there have been a number of things to celebrate over the past weeks. Thanks to my colleague/friend, I was able to join her in seeing the Dalai Lama! What an amazing experience to be in the presence of a spiritual leader. And yesterday SensitiveHusband and I attended the wedding of close family friends – needless to say there was much celebrating, visiting, well wishes, and fun dancing.

Another interesting thing that happened this week was my purchase of a vintage Armani blazer at a “posh tag sale” – my first piece of clothing of this caliber will happily be incorporated into my professional wardrobe.

Speaking of interesting…this week I made the frozen chocolate bananas for a work function. There were a few left over, so my colleague/friend Kristi (of Dalai Lama ticket fame) brought them home and let her Vitamix do its magical mixing. The result was a yummy milkshake-like treat that was free of dairy, gluten and cane sugar.

I also tried my hand at a small omelette since I had some leftover vegetables and herbs that I didn’t want to waste. An omelette is a great snack or meal for any time of the day or night, and it is as versatile as you are creative. Here is my take on a personal-sized Veggie Omelette:

Ingredients:
3 eggs
1 pat of butter
8 thin zucchini slices (raw or roasted leftovers)
1/2 teaspoon chopped parsley
6 basil leaves (shred 4 leaves, leave 2 leaves intact)
1 teaspoon Pecorino Romano cheese (or other grated cheese)
1 tablespoon Asiago cheese (or other shredded cheese)

Preparation:
Heat a nonstick skillet to medium high heat. Melt a small pat of butter in the pan. Once the skillet is heated, pour in the three beaten eggs. Allow eggs to lightly set in the pan, about 30 seconds, and then add the zucchini, parsley, four shredded leaves of basil, and Pecorino Romano cheese. When eggs start to bubble and the sides are loosened from the pan (about two minutes), flip the eggs over (you may want to fold over half and then unfold). Allow to cook until golden brown, about another two minutes. Slide cooked creation onto a plate, and garnish with Asiago cheese and two basil leaves.

I am sharing this recipe with Simply Sugar and Gluten Free.

Happy Birthday Spaghetti Squash with Polenta

A few weeks ago I tried my hand at polenta croutons. The crispy cubes of cornmeal were nice accompaniments to a garden salad. Shortly after my first foray into preparing polenta, my friend/colleague Kristi made the polenta croutons and added them to a tasty vegetarian/vegan entree that she created.

Start with a spaghetti squash – Heat the oven to 400°F. Cut the squash in half lengthwise and scrape out the seeds. Brush the flesh with 2 tablespoons of the oil and season with salt and pepper. Place the squash halves cut-side up on a baking sheet and roast until fork tender, about 50 minutes. Remove the squash from the oven and let sit at room temperature until just cool enough to handle. Scrape the flesh with a fork to make long strands; set aside.

Heat a skillet with oil on medium-high heat. Saute sliced onion, diced tomatoes, sliced zucchini, chopped garlic and capers. In a separate skillet, cook the polenta croutons. Place the sauteed mixture on top of the spaghetti squash and add polenta croutons to garnish. Serve hot and enjoy.

Thanks, Kristi, for this inspired dish. Have a happy birthday!

I am sharing this recipe with Simply Sugar and Gluten Free.