Tag Archives: Dairy free

Snickerdoodles (Paleo, Vegan, Gluten/Cane Sugar/Egg/Dairy Free)

Greetings and Happy Daylight Savings Time for those of you who are participating. Even though winter continues to hang around, there are some small signs of spring. This week, we started hearing birds singing outside of our window early in the morning. And yesterday while the sun was out, the strength of the rays warmed my cheeks.

Today is going to be a baking day for me. SensitiveHusband and I were out and about for much of yesterday, so we are keeping things close to home today. The oven has already helped me to bake a batch of cookies. I think some more baked goods are in store for us today…especially since our heater is being a bit temperamental and having the oven on really heats the place up!

Speaking of cookies, I would like to share with you a recipe for Snickerdoodles that my sister-in-law found. We made them together, altering the recipe slightly, and combined our baking time with a cinnamon taste test. Cinnamon has been in the news lately because studies have shown that there can be health benefits but perhaps the reverse is true if too much is consumed over a long period of time. Feel free to read more about the health discussion here. How do each of the cinnamons taste? We decided to try a side-by-side comparison.

cinnamon
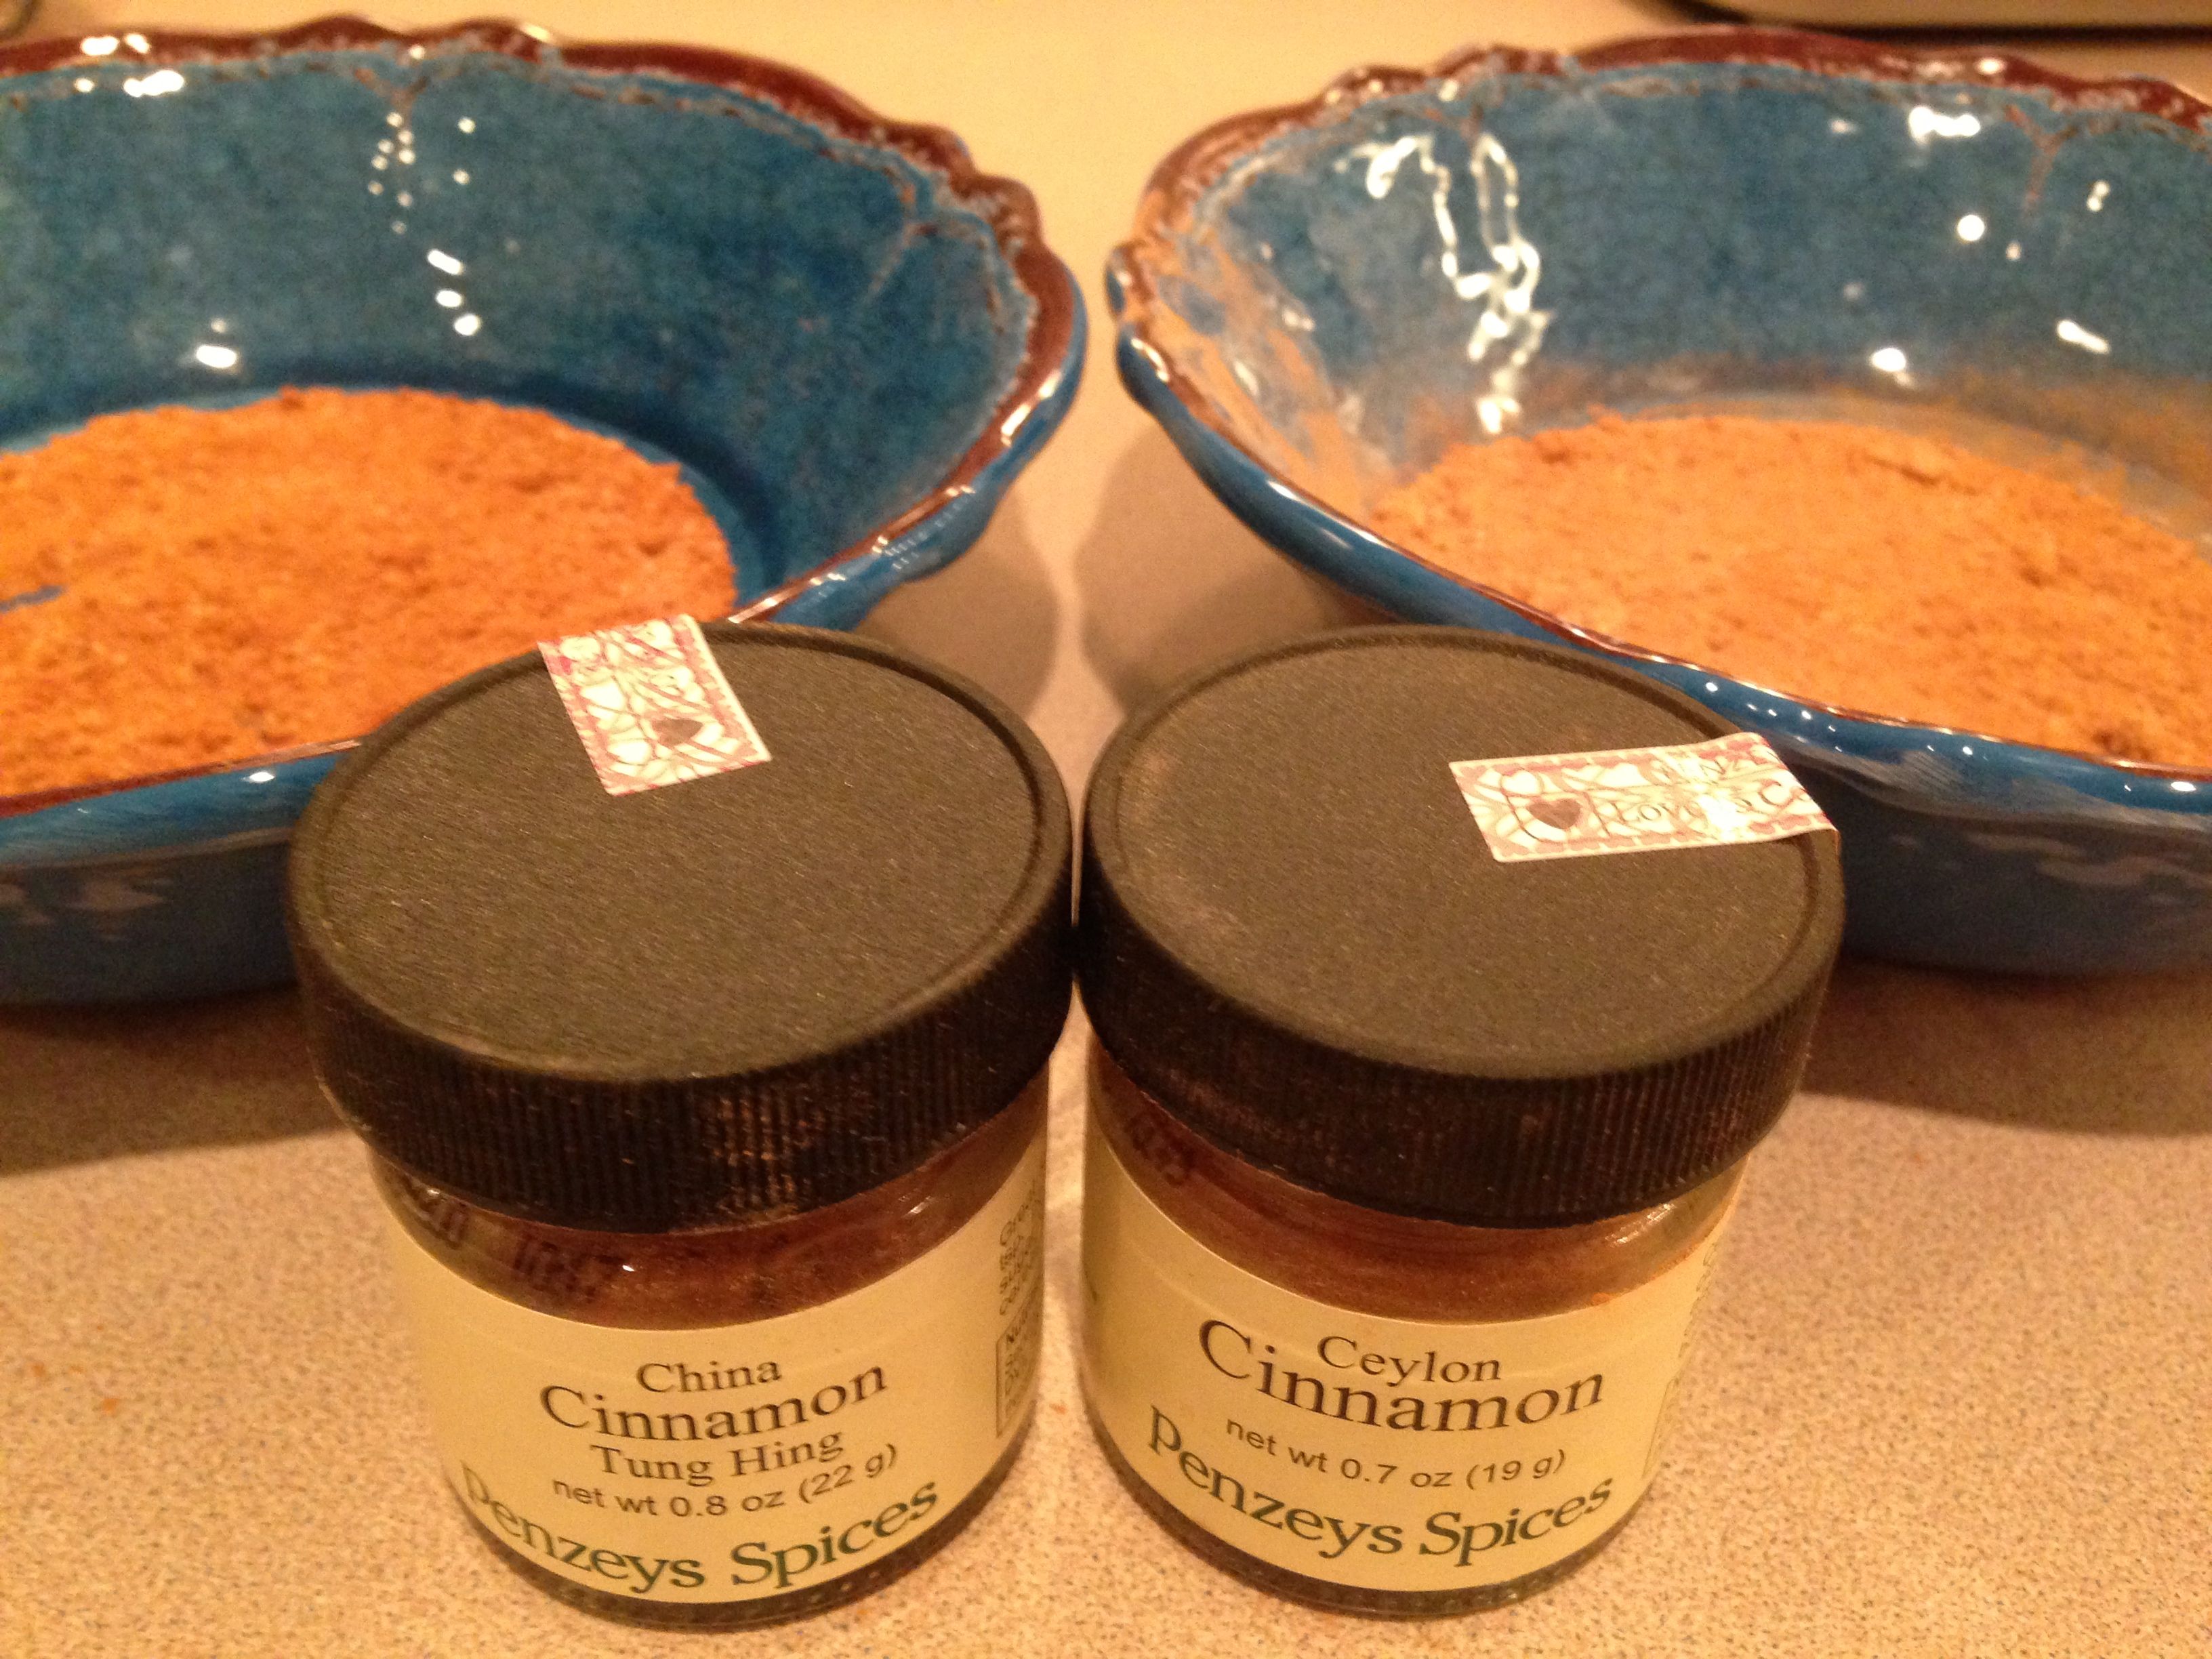
The spice called ‘China Cinnamon’ (often called ‘cassia’) was the same as the offering at a typical grocery store. The medium brown color and texture were pleasing, and the taste was like a ground-up cinnamon stick. Our sample of the ‘Ceylon Cinnamon’ provided a new flavor for us, one with hints of the typical cinnamon flavor but also with a smell and taste of citrus.

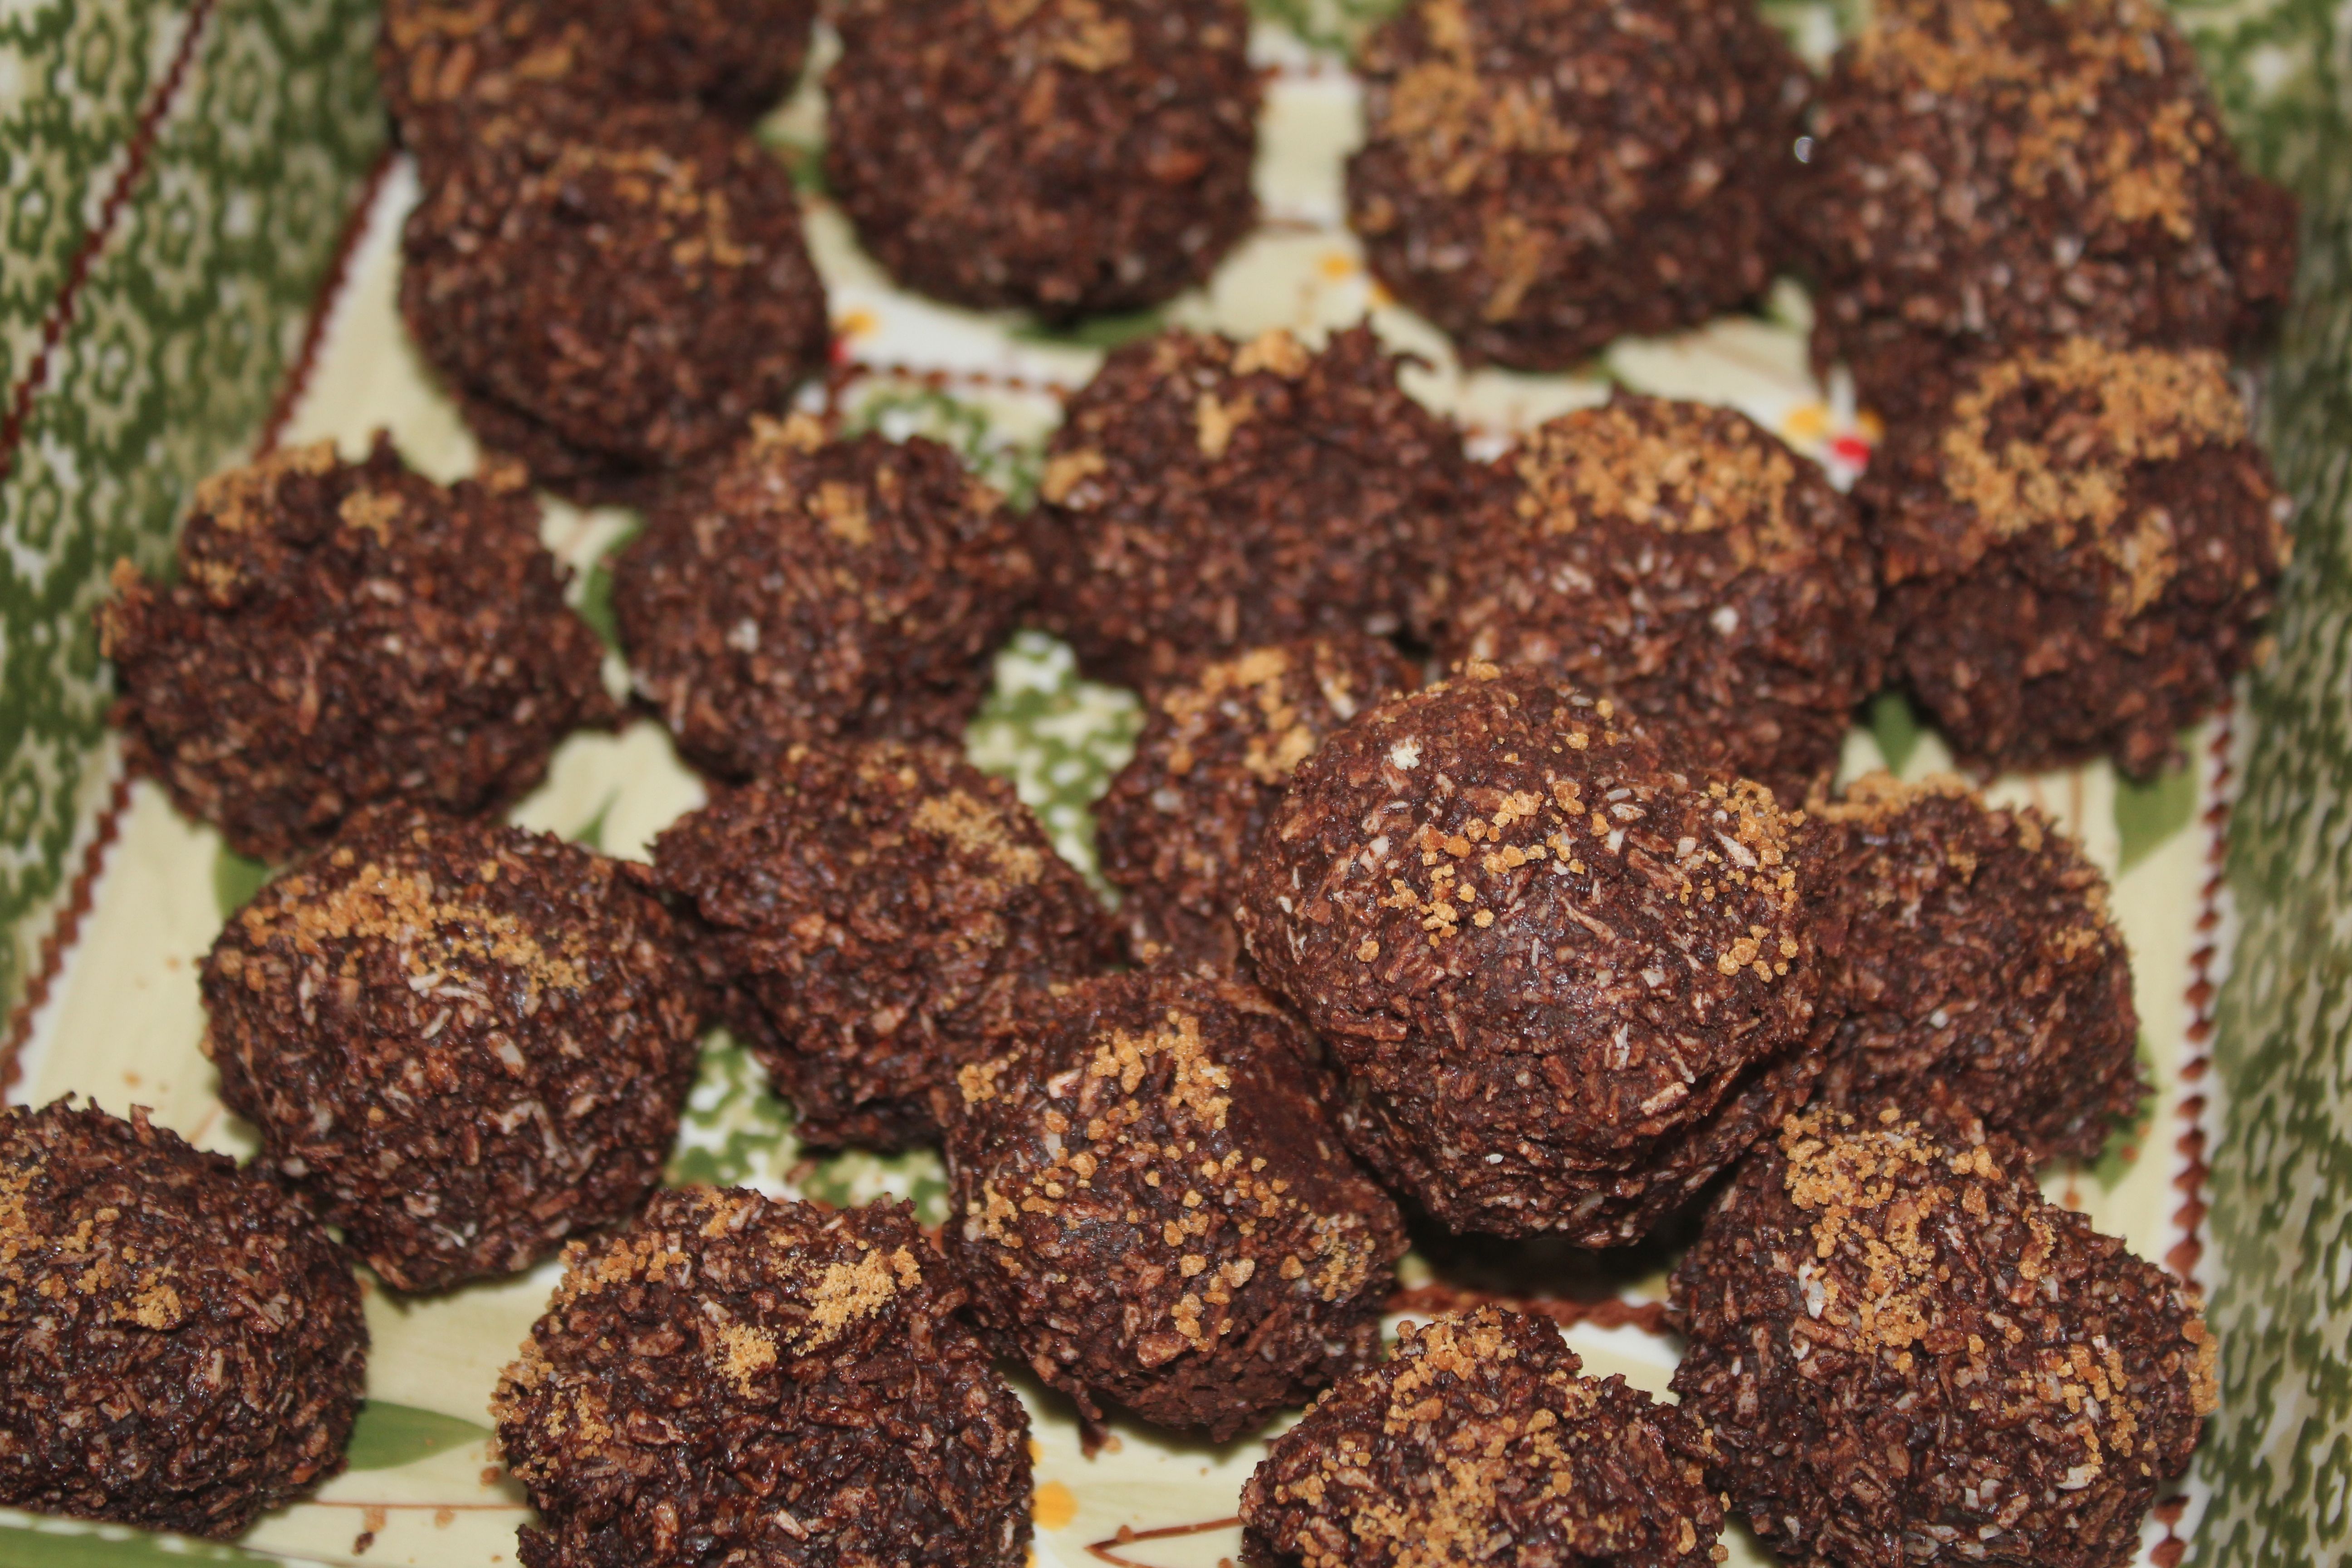
We baked half of the batch of snickerdoodles with the China Cinnamon, and the other half using the Ceylon variety. Both were delicious although we thought the Ceylon provided an extra bright and perky taste that was really pleasant.

Checking the costs online, the Ceylon cinnamon was slightly more than the regular variety, anywhere from $0.60 to $1.25 more per bottle.

snickerdoodlesIngredients: Cookies
2 cups almond flour
1/4 teaspoon salt
1/4 teaspoon baking soda
1/3 cup melted coconut oil, melted
1/4 cup maple syrup
1 tablespoon vanilla extract
1 teaspoon lemon juice

Ingredients: Cinnamon coating
2 tablespoons coconut palm sugar or maple sugar (optional)
2 tablespoons ground cinnamon

Preparation:
Preheat the oven to 350 degrees F and line and grease or line a baking sheet with parchment paper.

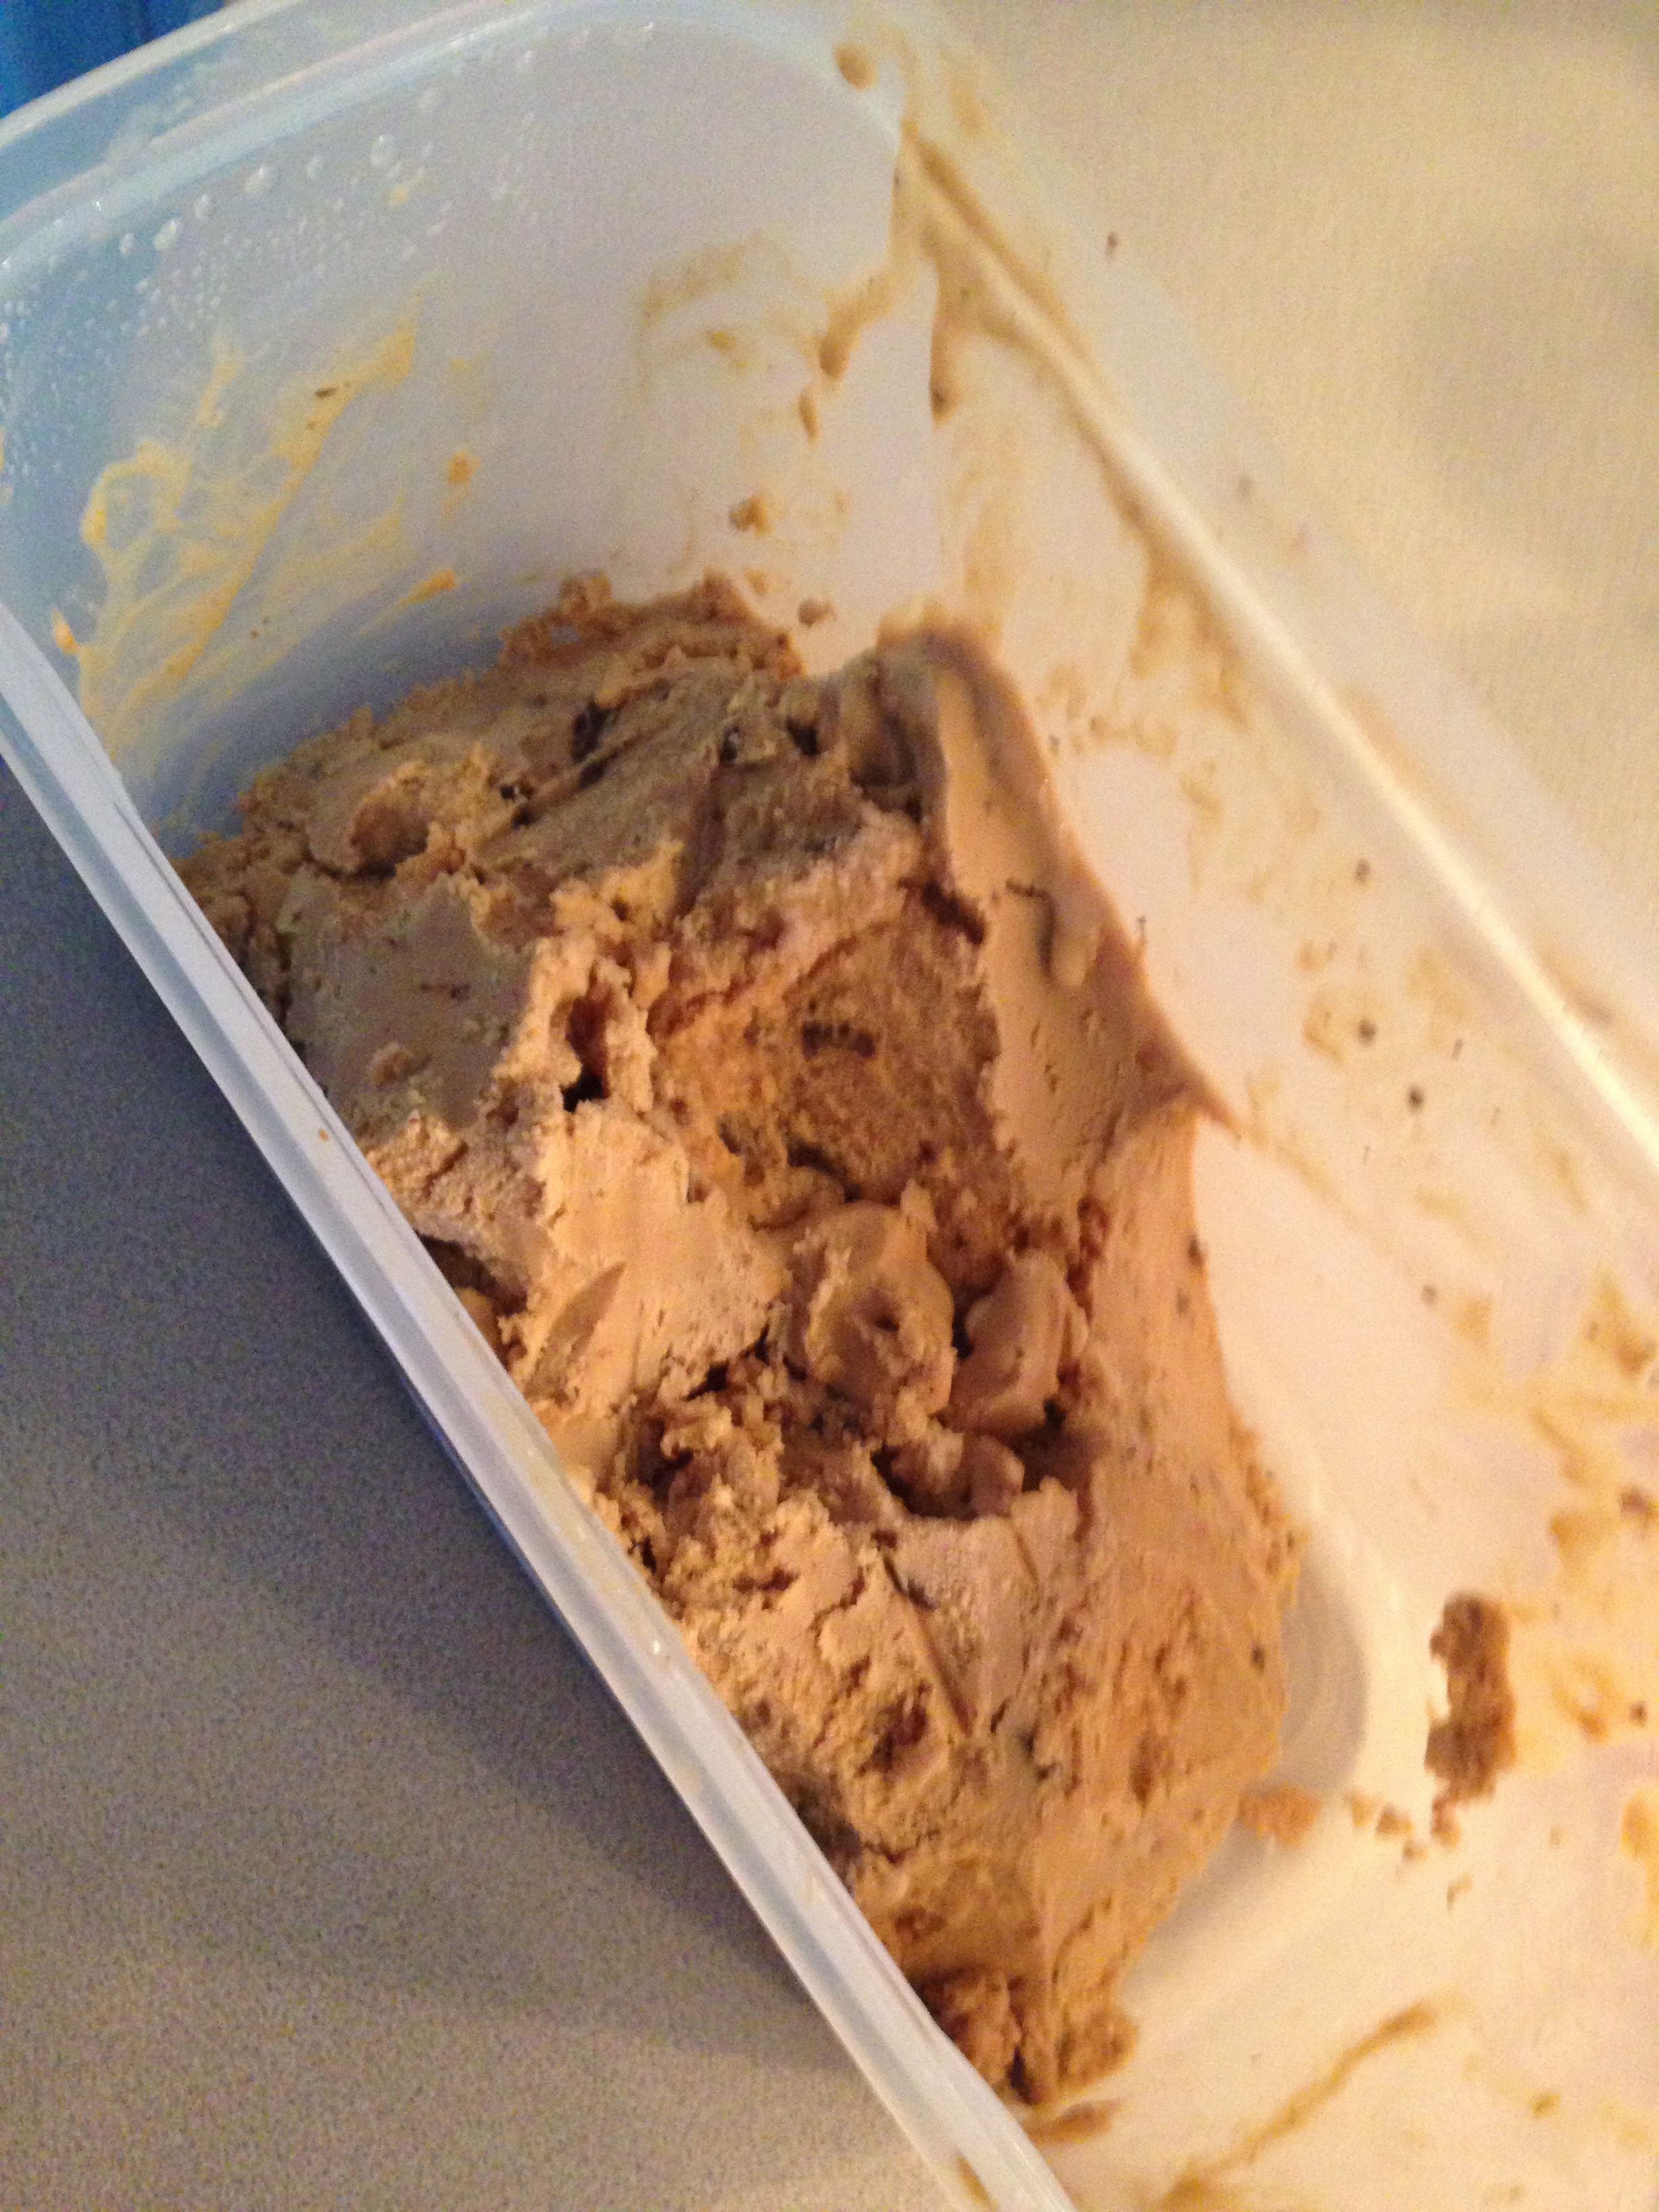
In a medium sized bowl, combine dry ingredients; mix together well. In a separate bowl, mix together the oil, maple syrup, vanilla and lemon juice. Add the wet ingredients to the almond flour mixture and mix until combined. Let rest for a few minutes – it will thicken up a bit.

Combine the sugar (optional) and ground cinnamon in a small bowl.

Scoop out the dough with a tablespoon, then gently form into a ball. Roll in the cinnamon mixture. Place the balls of cookie dough on the baking sheet, about 3 inches apart.

Gently flatten flatten each cookie using your hands or a jar. Dip the bottom of the jar in some of the sugar and spice mixture to help keep the cookie from sticking to the jar.

Bake for 8-9 minutes. Leave cookies on the cookie sheet while cooling. They may seem under-baked at first, but they will firm up to the right texture as they cool.

Filled with Glee over Chickpea Flatbreads

FlatbreadGood day, everyone! I hope that this blog post finds you well. I have been busy baking, cooking, and enjoying dinner parties – and as a result I have been remiss in blogging about these experiences. However I have some time between cleaning up after last night’s fun party, and eating some warm, cheesy dip during the ‘Big Game’ to describe the flatbreads I made. Since I have sensitivities to yeast and cane sugar, and a number of my friends need to be gluten or dairy free, finding adequate snacks for all of us can be a challenge.

One morning while reading the newspaper I spotted a photo of a bread that looked delicious. And the caption caught my eye because it talked about using ‘garbanzo bean flour.’ (Yes, chickpeas and garbanzo beans are two names for the same food.) In fact, according to FoodReference.com, garbanzo beans/chickpeas are the most widely consumed legume in the world. A member of the Pea (Fabaceae) family, garbanzo/chickpeas are also called ceci (Italy), Egyptian pea, gram, Kichererbse (Germany), and revithia (Greece). Garbanzo is the name used in Spanish speaking countries.  The English name chickpea comes from the French chiche. These lovely legumes are rich in protein, phosphorus, calcium and iron.

And I made a snack that was gluten, yeast, dairy, and cane sugar free! Happy snack time! This recipe makes one 10-inch flatbread or two 8-inch rounds. Feel free to add other herbs or seasonings such as garlic or garlic powder.

Ingredients:
  • 1 cup chickpea flour
  • 1 cup cool water
  • 3 1/2 tablespoons olive oil
  • 3/4 teaspoon kosher salt
  • 2 teaspoons chopped fresh rosemary (optional)
  • Freshly ground black pepper
Preparation:

Combine the chickpea flour, water, 1 1/2 tablespoons of the oil, the salt and the rosemary, if using, stirring until smooth. Cover and let the mixture rest for at least 2 hours, or refrigerate it overnight.

When the batter is ready, position an oven rack 4 to 6 inches from the broiler element. Place a medium cast-iron skillet or two 8-inch round cake pans on the rack; preheat the oven to 500 degrees.

Remove the hot skillet or pans from the oven. Pour in the remaining 2 tablespoons of oil and swirl to coat.

Return the skillet or pans to the oven for a few minutes to heat up, then pull them out just long enough to pour in the batter, spreading it in the skillet or dividing it between the pans and spreading it in an even layer. Bake for 5 minutes; the flatbread will look set and will pull away from the pan’s edges a bit.

Turn on the broiler (leaving the flatbread in the oven); broil the flatbread for 3 or 4 minutes, until slightly charred.

Immediately sprinkle with pepper to taste. Carefully dislodge, letting the flatbread slide onto a cutting board. Cut into wedges and serve.

Carrot Cupcakes with Maple Coconut Cream Frosting (Gluten & Dairy Free)

Good day, everyone! I hope that this blog finds you well. I am truly appreciating the weather today, such a bright and sunny day, which is a welcome relief from all of the wind and rain we had this past week. The apples I have been purchasing at the local farm have been outstanding, so much so that I have not baked with apples yet this season because SensitiveHusband and I keep eating them before there is any chance of making a muffin or sauce. The carrots, however, I managed to snag for a cake (more on that in a moment). carrot cake cupcakes

Speaking of cake, have you ever eaten “too many slices of suboptimal, day-old cake,” which then inspired you to figure out how best to slice a cake so as not to expose the remains to the air and get dried out? No? To tell you the truth, I hadn’t thought much of it either. Yet this issue has been pondered for well over a century. In 1906 Sir Francis Galton, a British mathematician, discussed the scientific principles of cutting a cake in a letter written to the journal Nature. Galton, who was a first cousin to Charles Darwin, notes that instead of cutting a cake into wedges, you should cut the cake down the middle and remove a thin slice, then push the cake back together, which seals the cake back up. Galton goes a step further and suggests wrapping a rubber band around the outside of the cake to guarantee that no air dries out the baked good. He, who discovered regression to the mean, perhaps only ate cakes with fondant frosting – because I fear the effects of a rubber band wrapped around a luscious buttercream.

Need to see this to believe it? There is an excellent video demonstration by Alex Bellos – check it out here. And see if it convinces you that a wedge slice may not be the only option for parsing out dessert.

Since I continue to think of cake, I will share with you a recipe I made recently for my SIL’s (sister-in-law) birthday. This carrot cake was inspired by a fabulous recipe found in Elana’s Pantry. I chose to sweeten the cake with honey and I used grapeseed oil for the fat. I also crushed the walnuts and baked them into cupcakes. My notes are included in the recipe below. And then I topped them off with a maple coconut cream frosting! I again was inspired by Elana’s Pantry, although I sweetened the frosting with maple syrup, which paired so nicely with the flavors.

Still not sure how you want to slice a cake? No worries, just bake cupcakes!!

CARROT CAKE – INGREDIENTS
3 cups blanched almond flour
1 teaspoon sea salt
1 teaspoon baking soda
1 tablespoon ground cinnamon
1 teaspoon nutmeg
5 eggs
½ cup honey (or agave nectar)
¼ cup grapeseed oil
3 cups carrots, grated
1 cup raisins
1 cup walnuts, chopped

PREPARATION
In a large bowl, combine almond flour, salt, baking soda, cinnamon and nutmeg
In a separate bowl, mix together eggs, honey (or agave nectar) and oil
Stir carrots, raisins and walnuts into wet ingredients
Stir wet ingredients into dry
Place batter into 24 cupcake tins with liners (or 2 well greased, round 9-Inch cake pans)
Bake at 325° for 20-25 minutes for cupcakes (35 minutes for cakes)
Cool to room temperature and spread with frosting

MAPLE COCONUT CREAM FROSTING – INGREDIENTS
1 cup coconut milk (in a can)
1 cup maple syrup
pinch sea salt
5 teaspoons arrowroot powder
3-5 tablespoons water
1¼ cup coconut oil

PREPARATION
In a medium saucepan, heat coconut milk, maple syrup and salt, simmer for 10 minutes
In a small bowl, combine arrowroot and water to form a smooth paste
Pour arrowroot mixture into saucepan
Whisk vigorously to combine, then bring to a boil, briefly, until shiny
Remove pot from heat and very gradually blend in coconut oil with a hand blender (or mixer)
Allow pot to cool for 10 minutes
Place pot in refrigerator for 45-120 minutes, until frosting solidifies
Remove from refrigerator and blend again with a hand blender (or mixer), until fluffy
Spread over cake or cupcakes

Peanut Butter Ice Cream Sundaes

Hello, and happy summer to you all! As you know, SensitiveHusband and I recently bought a house and moved, and we just sold my condo. So as you can imagine, my free time has been spent moving boxes around. I also find myself doing a lot more laundry since my washer and dryer are just off of the kitchen, which makes moving the clothes around so much easier. It’s weird, I actually find myself making excuses to just do another load of laundry! I bet that feeling will wear off eventually.

peanut butter ice creamHowever, I have still been trying new recipes. And this one for peanut butter ice cream is so delicious and creamy, you won’t even notice the lack of dairy, refined sugar, or gluten. It is rich and satisfying, especially if you pair it with some hot fudge sauce!

How did I uncover this gem of a recipe? My friend MaryAnn sent me a link to the Gluten Free Goddess web site with a simple note attached – “You MUST make this! AMAZING!” Since I like ice cream, and this recipe seemed to be receiving a ringing endorsement, I thought I would oblige.

sundaeI made two changes to the original recipe. First, I doubled it. If the ice cream was really going to be this good, I better make a sizable batch. And secondly, I substituted the brown sugar with coconut palm sugar. The recipe went off without a hitch and when I sampled it, I was overjoyed. So far I have made this ice cream twice, once for SenstiveHusband’s birthday (hence the candle in his sundae), and once for a family party. And I already have all of the ingredients for another batch.

Ingredients:
2 14-oz. cans organic coconut milk, chilled
1 cup coconut palm sugar
1 cup organic natural peanut butter
1 dash sea salt
2 teaspoons vanilla extract
6 tablespoons dark chocolate shavings (or grain sweetened chocolate chips if you can handle gluten)

Preparation:
Prepare your ice cream maker ahead of time by freezing the canister overnight. Now is a good time to chill your coconut milk in the fridge too.

Combine the chilled coconut milk and coconut palm sugar in a blender and whip until the sugar is dissolved. Add in the natural peanut butter and vanilla extract. Whip just until the mixture is creamy and frothy.

Set your freezing canister in place and turn on the ice cream maker. Pour the mixture into the freezing canister.

Add in the shaved dark chocolate.

Churn until frozen; at 30 minutes it should reach a thick, soft-serve consistency.

Scoop into a freezable quart container, cover and freeze.

hot fudge sauceUpon sampling this peanut butter ice cream, you may find yourself craving a sundae. If this is the case, try this recipe for Homemade Bittersweet Chocolate Syrup from the Nourishing Gourmet. Plus, it’s Paleo; gluten, refined sugar, and dairy free!

And if you need to top it all off with some whipped cream (not dairy free, but gluten free and refined sugar free), you can check out my recipe.

Banana Strawberry Oat Bars (Gluten, Dairy & Sugar Free)

Strawberry Oat BarsGood day, everyone. I hope that the new year finds you well. During this time of year I enjoy baking (even more than usual) and the lingering aroma of baked goods throughout the house. These oat bars make a great breakfast or snack. Plus, they are free from gluten, dairy and sugar, so many of your friends will be able to eat them!

I was inspired by Sweet as a Cookie’s version of Vegan Banana Strawberry Oatmeal Bars. I used the suggested ingredients except I substituted coconut palm sugar for the Stevia, used parchment paper instead of nonstick spray, and I doubled the recipe so that it would fit in my 9×13 pan.

You may find that these bars become one of your favorite comfort foods. Speaking of comfort foods, have you voted for your favorite comfort food? It just takes two clicks to cast your vote on sensitiveeconomist.com. Thanks!

Ingredients
2 bananas, mashed
2/3 cup natural applesauce (unsweetened)
1 tsp. vanilla extract
2 1/2 cups quick oats
1/2 tsp. baking powder
1/2 tsp. baking soda
1/4 tsp. cinnamon
1/3 cup strawberries, diced
3 tbsp. coconut palm sugar, optional

Preparation
Preheat oven to 350º F. Prepare an 9×13 pan by greasing with butter or covering with parchment paper; set aside. In a medium sized bowl combine bananas, applesauce, and vanilla extract. Once combined mix in baking powder, baking soda, and cinnamon. Stir in oats until everything is well mixed. Add the strawberries to the mixture and combine. Pour mixture into the prepared pan and flatten evenly with a spatula. Sprinkle optional coconut palm sugar over unbaked bars. Bake for approximately 35 minutes or until golden brown. Cool for approximately 10 minutes. Cut into 10 evenly sized bars and enjoy!

Chocolate Macaroons are Full of Taste Yet Free (of Gluten, Dairy & Cane Sugar)

Chocolate MacaroonsMacaroons always look very pretty, delicate and light, yet I rarely eat them because they do not have my favorite dessert ingredient, chocolate. I assume that many other people have snubbed a macaroon when deciding what treats to eat from a dessert table since the majority of us agree that chocolate is our favorite dessert flavor.

dessert_flavors_tableThe most recent SensitiveEconomist poll shows that 63% of the 112 respondents would choose a chocolate dessert over any other flavor, with mint coming in a distant second place with 11% of the responses. These survey results mean that when given the choice between a light and flaky macaroon and a slice of chocolate cake, most of us turn to the delicious cocoa. Until now – where we can have both.

Most of you will share in my excitement for Kay Stepkin’s recipe for chocolate macaroons that I read in my newspaper a few weeks ago. What a great way to combine a light and delicate treat with my favorite dessert flavor, chocolate. Plus, this recipe is free of gluten, cane sugar and dairy – and it’s vegan! This is a delicious treat for so many people. I made the dessert for a dinner party and they were an absolute hit! I will definitely be making these again right through the summer.

Speaking of summer, what is your favorite summertime food? Please share your opinion with a simple poll right on my home page. Just click your answer and then click “vote” and you will see the up-to-the minute results. The food with the most responses will probably find itself highlighted as a main ingredient sometime soon on this blog. Thanks for participating!

Ingredients:
3 tablespoons coconut oil, melted
1 cup maple syrup
1 teaspoon almond extract
3 cups unsweetened shredded coconut
1½ cups cocoa powder
½ cup almond meal/flour (or ground almonds)
1/4 teaspoon sea (or kosher) salt
Coconut sugar, optional

Preparation:
1. Heat oven to 325 degrees. Pour coconut oil, maple syrup, almond extract, coconut, cocoa powder, almond meal and salt into a bowl; stir until well combined.

2. Using a large tablespoon of dough per cookie, shape into mounds, packing mixture firmly. Distribute cookies onto a parchment-covered baking sheet. Do not press down.

3. Bake for 15 minutes. When cool, dust with a little coconut sugar.

Makes about 22 cookies.

Additional Notes:
(1) For the almond meal, you can substitute with almonds ground up in a food processor.
(2) If you would like this recipe to be nut free, substitute the almond extract with vanilla extract, and replace the almond meal with brown rice flour.
(3) Since the coconut oil will be solid in the jar to start, microwave until melted and then spoon out the liquid oil for the recipe. After the coconut oil cools it will return to its solid state.

I am sharing this recipe with Simply Sugar and Gluten Free and Food Trip Friday.

(Gluten and Refined Sugar Free) Cinnamon Raisin Muffins

cinnamon raisin muffinsGood day everyone! Since I had some extra garbanzo bean flour in my cupboard, I decided to figure out how to use it. I found a delightful recipe for chocolate chip muffins that used that type of flour, and I decided to change it a bit so that I would make cinnamon raisin muffins. The result was a beautiful, golden-brown muffin that tastes great…and is free of gluten and refined sugar too!

Ingredients
1 cup garbanzo bean flour
1 tsp baking powder
½ tsp cinnamon
½ cup coconut palm sugar
⅓ cup milk (almond milk for a dairy free option)
2 eggs
2 tbsp grapeseed (or canola) oil
2 tsp vanilla extract
⅔ cup raisins
3 tbsp gluten-free granola, optional

Preparation
Preheat oven to 375 degrees and line a 12 cup muffin pan with muffin liners. Set aside.

Combine dry ingredients in a small bowl and set aside. Whisk wet ingredients together in a large bowl. Add dry ingredients to wet and mix until incorporated. Fold in raisins.

Divide muffin batter into prepared muffin cups and sprinkle the tops of the muffins with granola, if desired. Bake in preheated oven for 20-22 minutes, or until toothpick inserted comes out clean.

PS: For my friends who receive my blog posts via email, I apologize for the previous email. My keyboard commands recently changed and I posted a blog rather than making a word have a bold font. Whoops!

I am sharing my recipe at Simply Sugar and Gluten Free, Cybele Pascal Allergy-Friendly Cook, and Food Trip Friday.

Minding the Vitamix – Part 2: Fresh Green Hummus

green hummusThe alternate title for this blog post is: Top of the morning – and the balance of the day – to you!

MIL’s Vitamix blender continued to sit on my counter, so I thought I would try my hand at one of my favorite snacks, hummus. Hummus is an Arabic word meaning “chickpeas” and is made by mixing mashed chickpeas with oil, lemon juice and other seasonings. I had never made my own hummus before, preferring the convenience of a store-bought package. I now realize how easy it is to make and how creative I can get with the seasonings.

Since today is St. Patrick’s Day, I thought I would try making hummus seasoned with spinach so that its hue would match the official color of the day. If you do not have spinach on hand, other green, leafy vegetables like parsley, basil or kale would do well. My inspiration for this recipe is from Just a Pinch’s White Bean Green Hummus.

Ingredients:
1 can garbanzo beans, rinsed and drained
2 oz fresh spinach leaves, rinsed (about one large handful)
2 tbs dried parsley
2 cloves garlic, peeled
juice from 1 lemon
1/3 cup olive oil
salt and pepper, to taste

Preparation:
Using a food processor or Vitamix blender, pulse all ingredients until desired consistency is reached. Serve with pita points, crackers, or vegetable slices.

May you always have walls for the winds,
a roof for the rain, tea beside the fire,
laughter to cheer you, those you love near you,
and all your heart might desire.

I am sharing this recipe with Simply Sugar and Gluten Free.

Chocolate Dipped Bananas are Delicious Yet Gluten, Dairy & Cane Sugar Free

This past weekend SensitiveHusband and I enjoyed a lovely evening with some family friends. I have known these wonderful people all of my life and I feel privileged to be able to continue this extended family connection.

Each couple contributed something to the meal, and I was fortunate enough to be asked to bring a dessert. What a great experience to bake one of my favorites as well as try something new! As for the favorite, I made a chocolate agave cake and I doubled the recipe to make a layer cake with a cherry jam filling. I topped the cake with homemade whipped cream. I will definitely make this again!

My new creation involved chocolate dipped bananas. You can probably guess the two main ingredients! I had fun topping this dessert with all sorts of tasty treats as seen in the photograph above.

Chocolate Dipped Bananas (Gluten, Cane Sugar and Dairy Free)

Ingredients
2 ripe bananas, cut into 1/2 inch disks
1 bar (3 oz) dark chocolate (The dark chocolate with raspberries Endangered Species brand is gluten, dairy and cane sugar free)
1/2 tsp vanilla extract
Assorted toppings (such as peanuts, granola, coconut, or cinnamon)

Preparation
Melt the chocolate on low heat. Stir in the vanilla extract. Dip the bananas into the melted chocolate so that about half of the banana is covered. Place bananas on a baking sheet covered with parchment paper. Top the bananans creatively. The close-up photo shows one dusted with cinnamon. Freeze for at least half an hour. Once frozen, you can transfer the bananas to another bowl or zip lock bag. Allow bananas to defrost for a few minutes before enjoying.

P.S. If you have not already done so, please answer the poll on the web site just to the left of this post. It just takes two clicks of your time. The results are very close and I hope to get a large enough sample to declare a winning dessert. Thanks for your participation!

I am sharing this recipe with Simply Sugar and Gluten Free, Cybele Pascal Allergen Free Cuisine, Food Trip Friday and Miz Helen’s Country Cottage.